

okeli lights
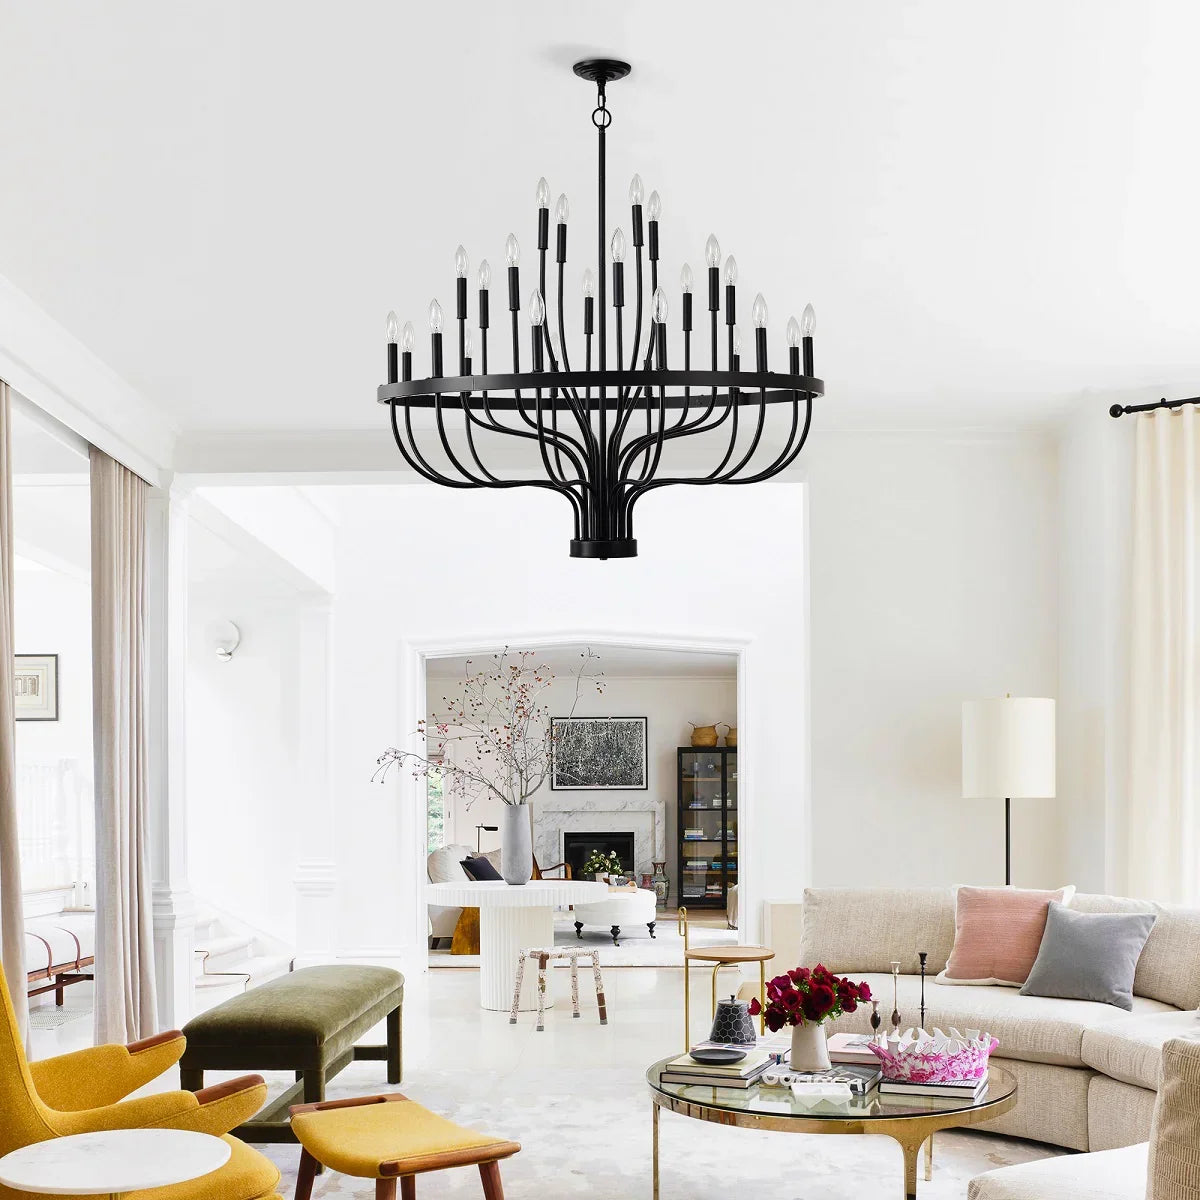
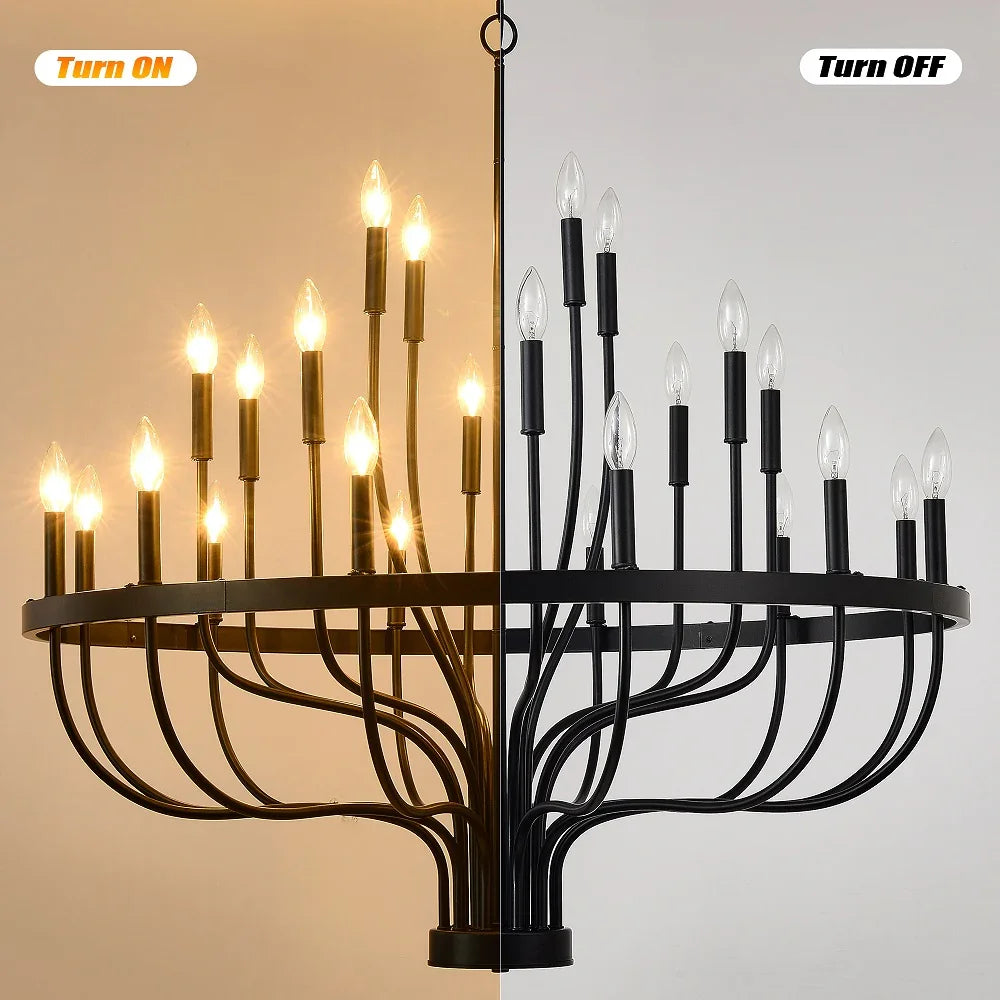
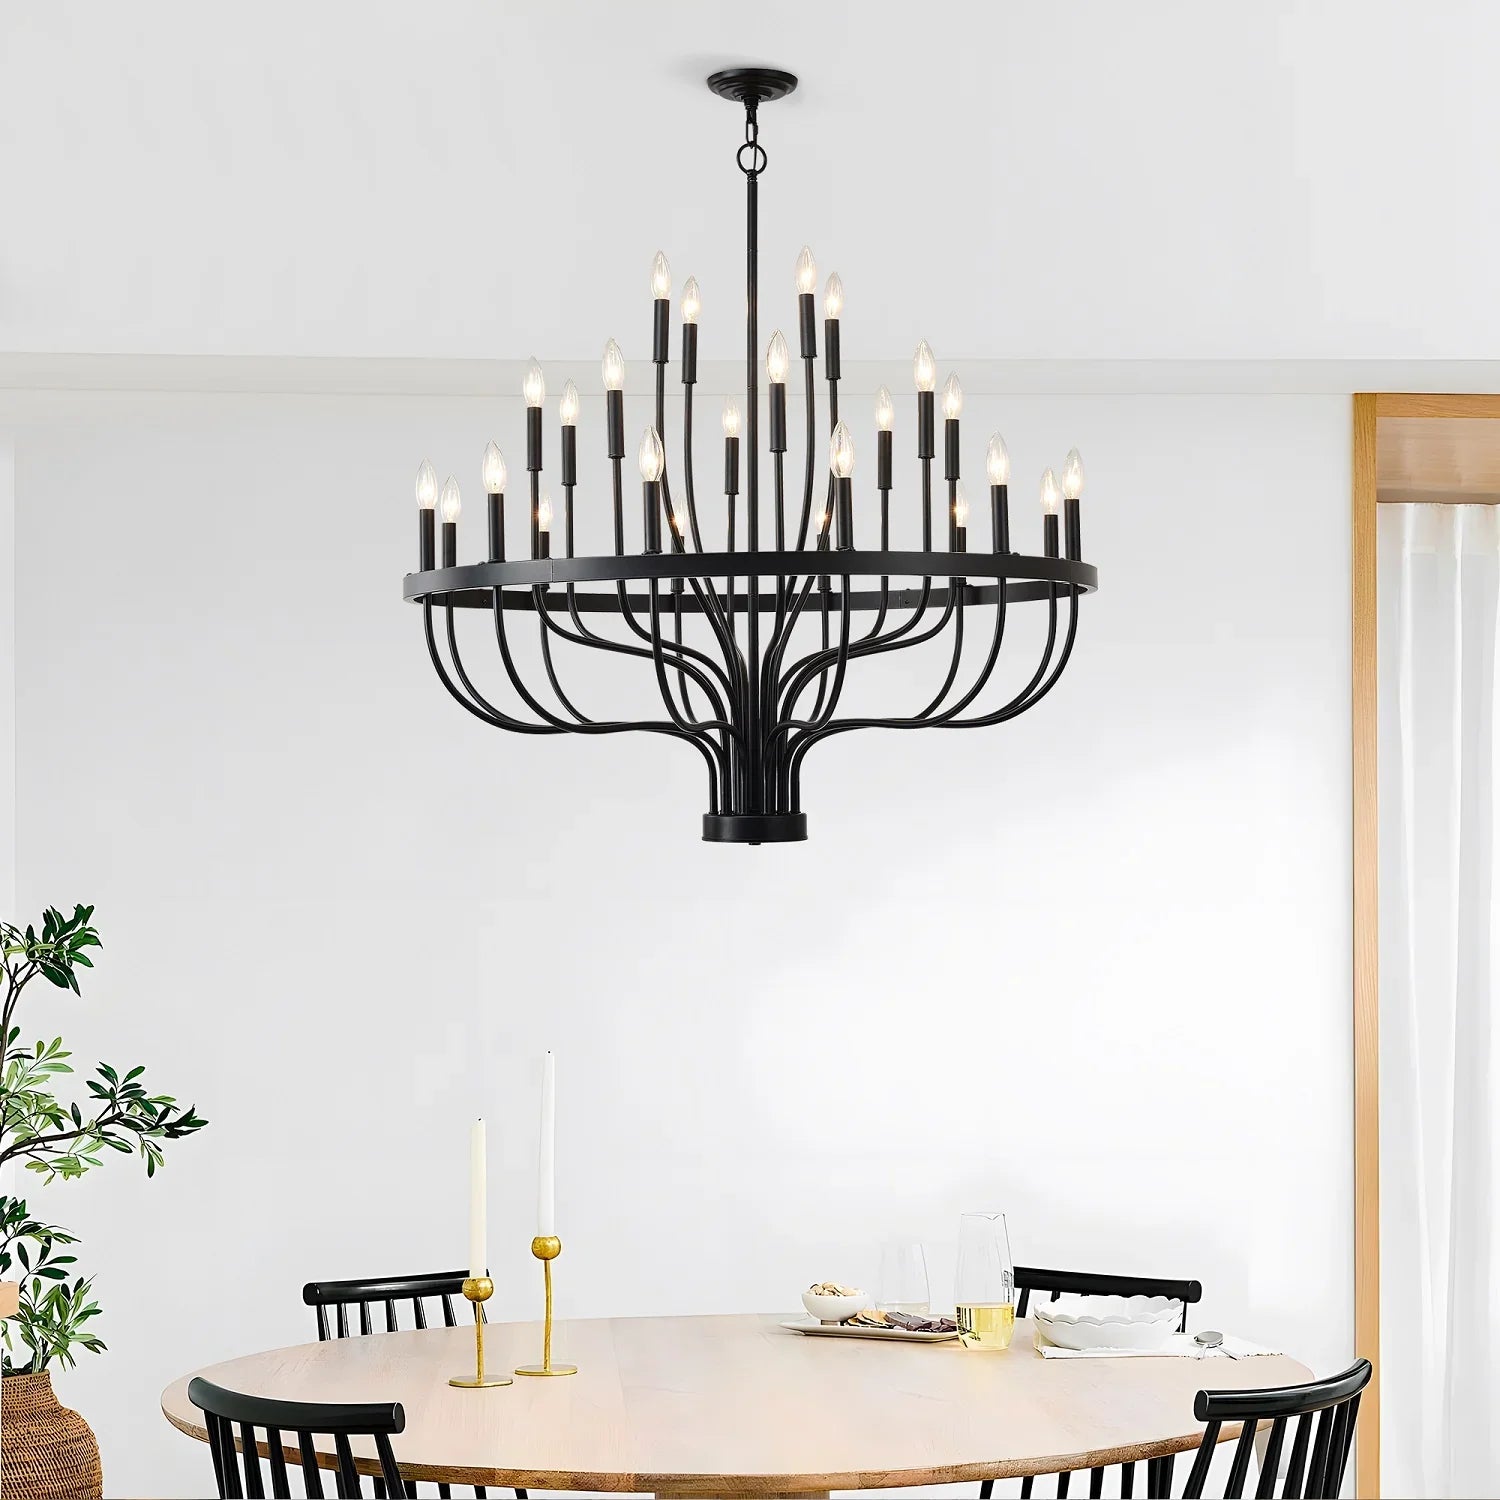
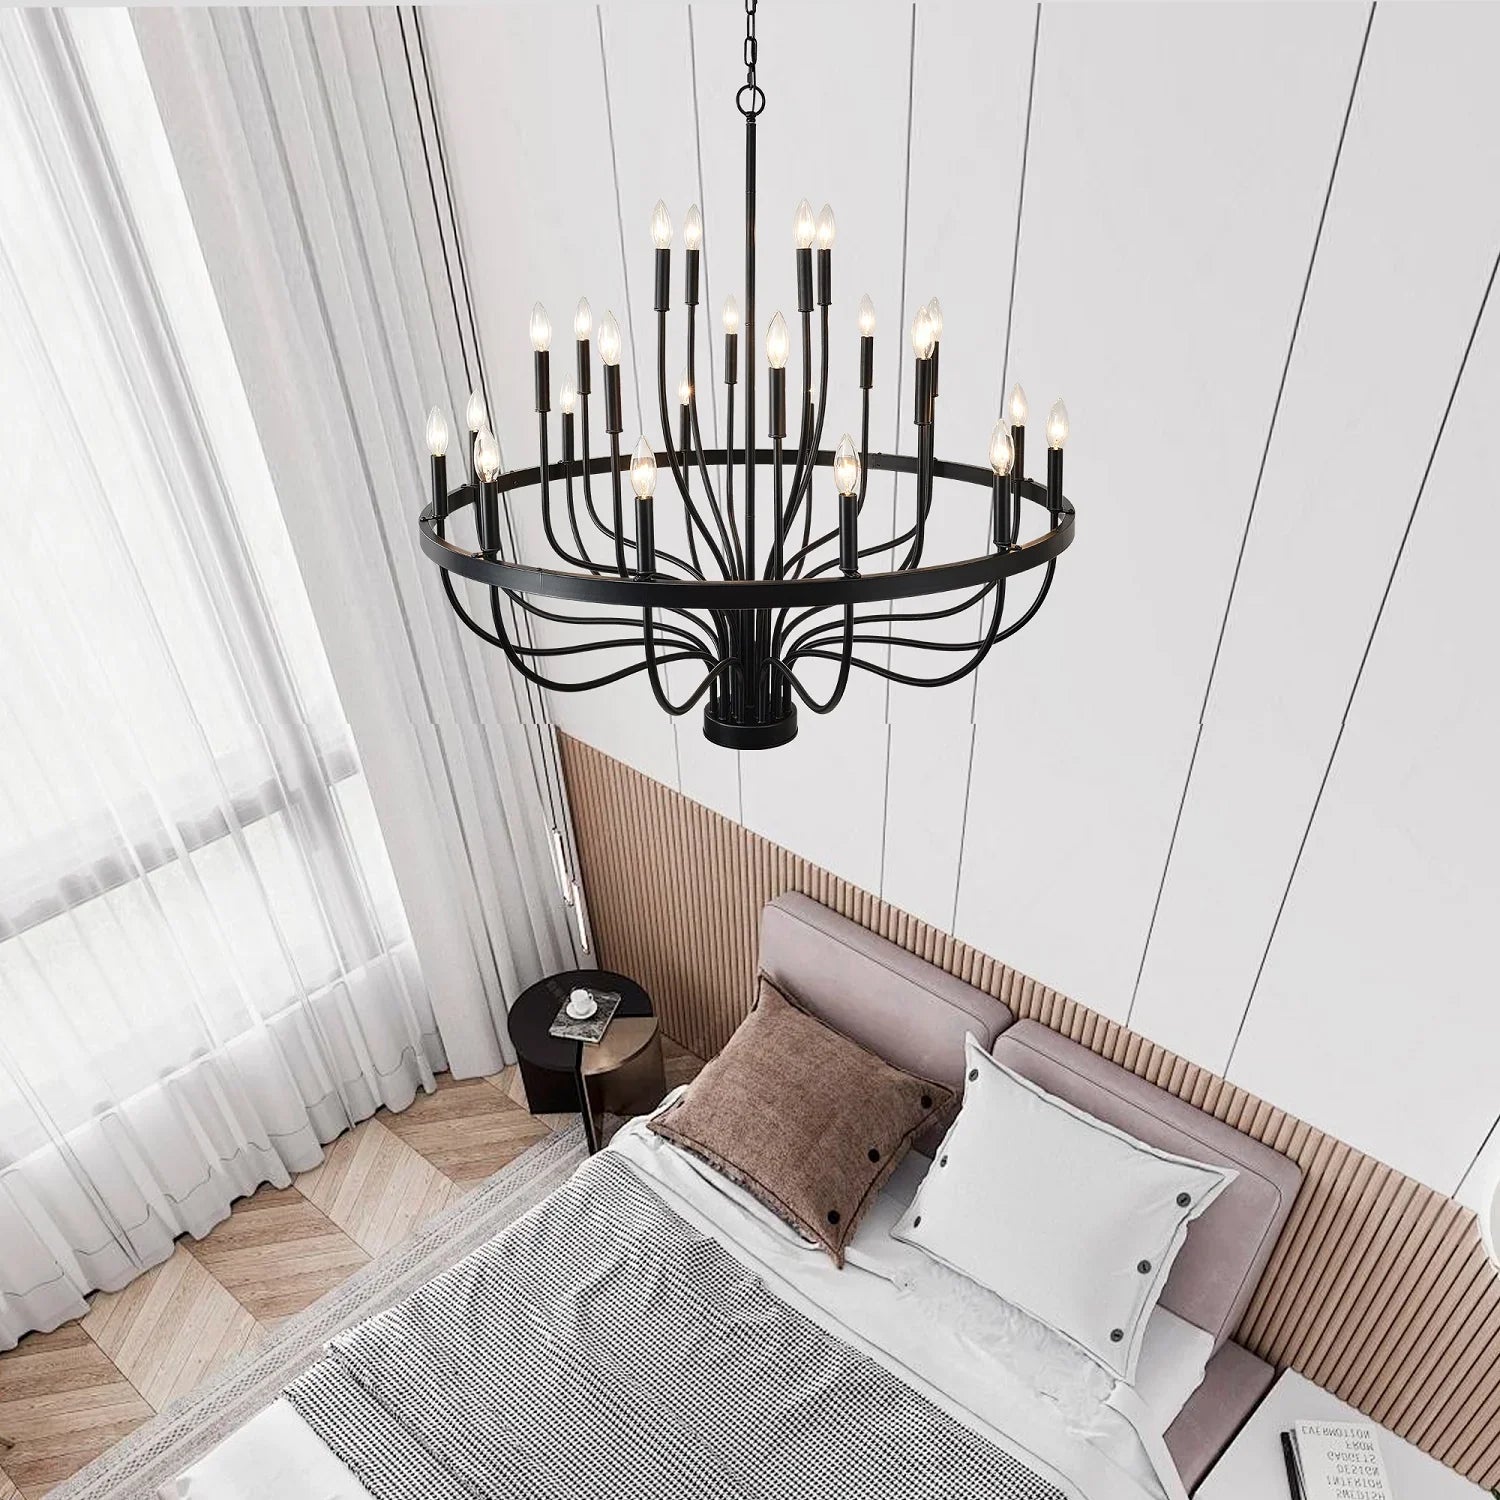
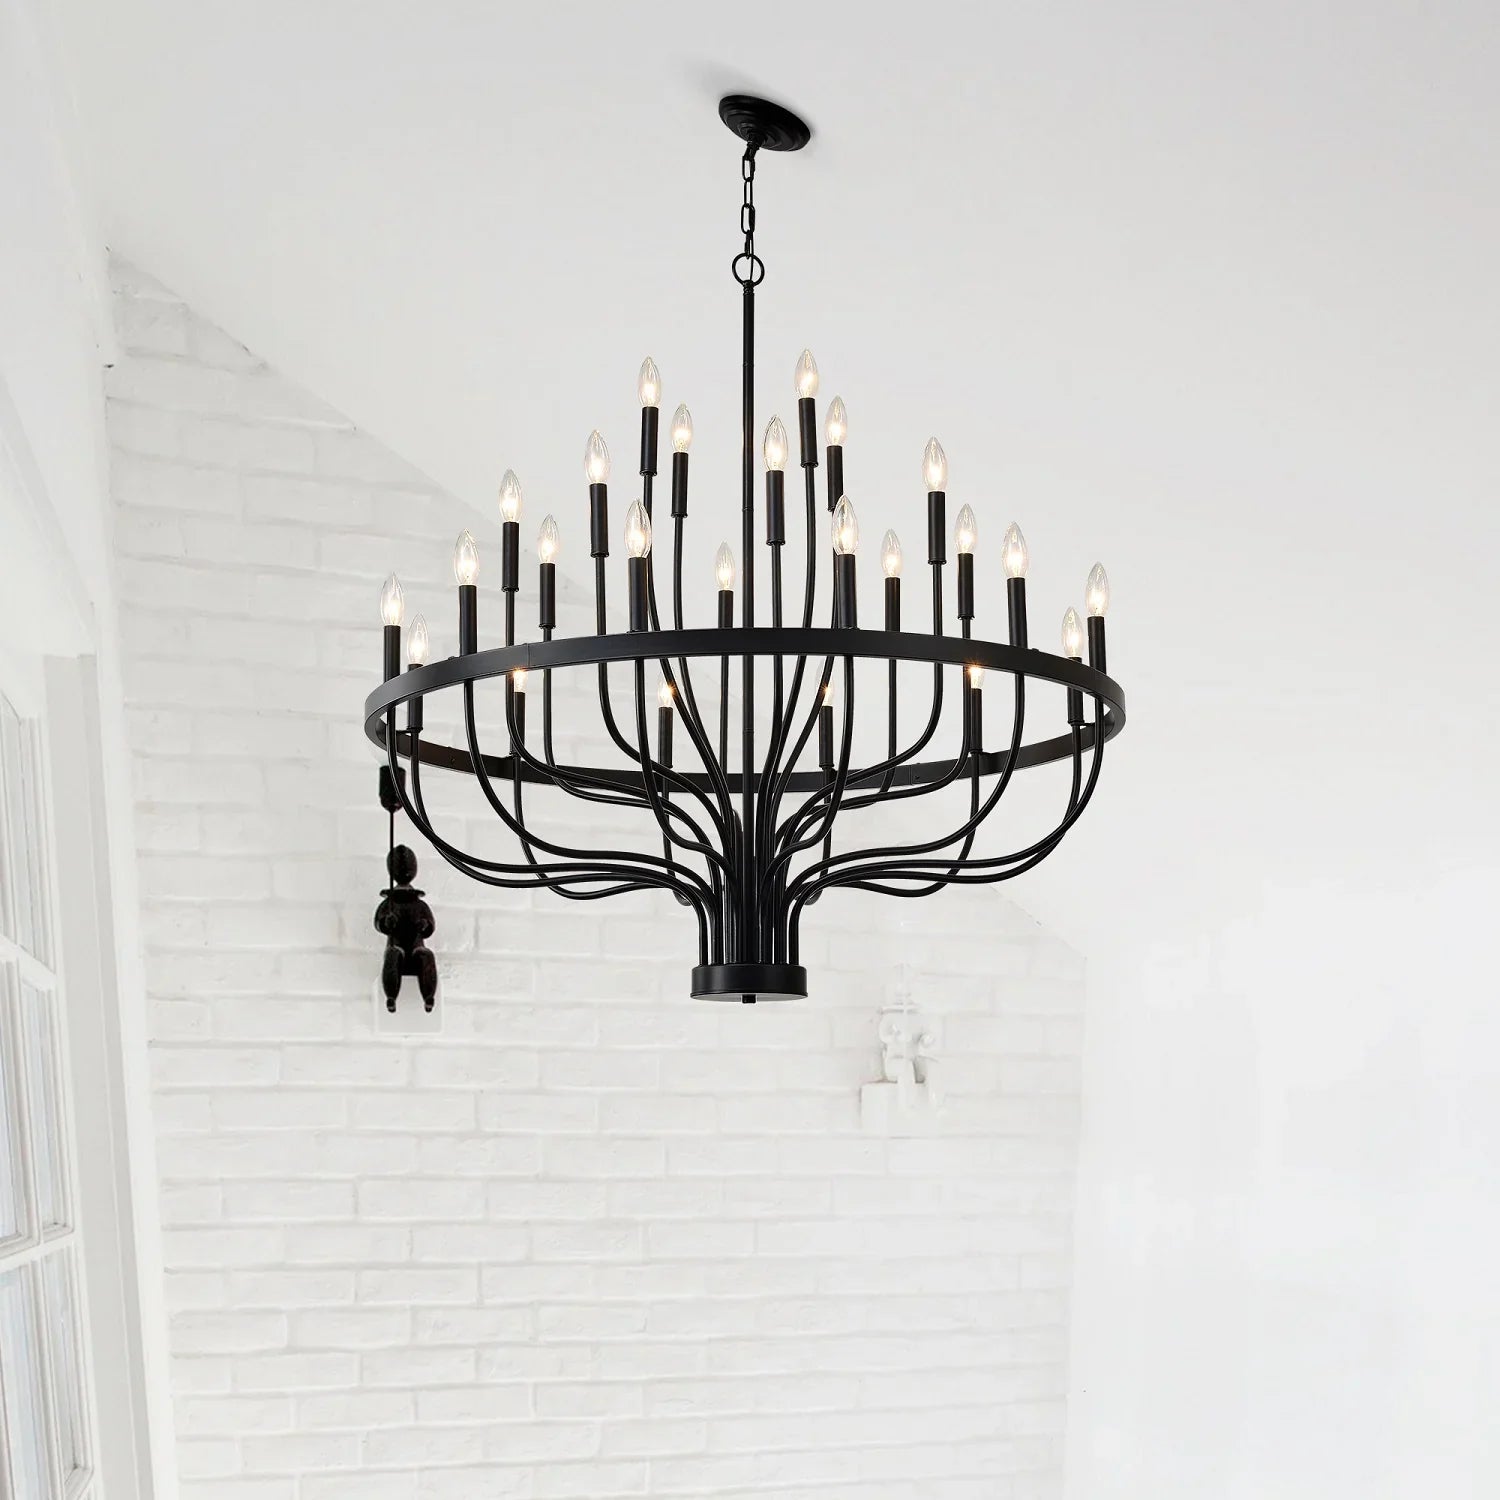
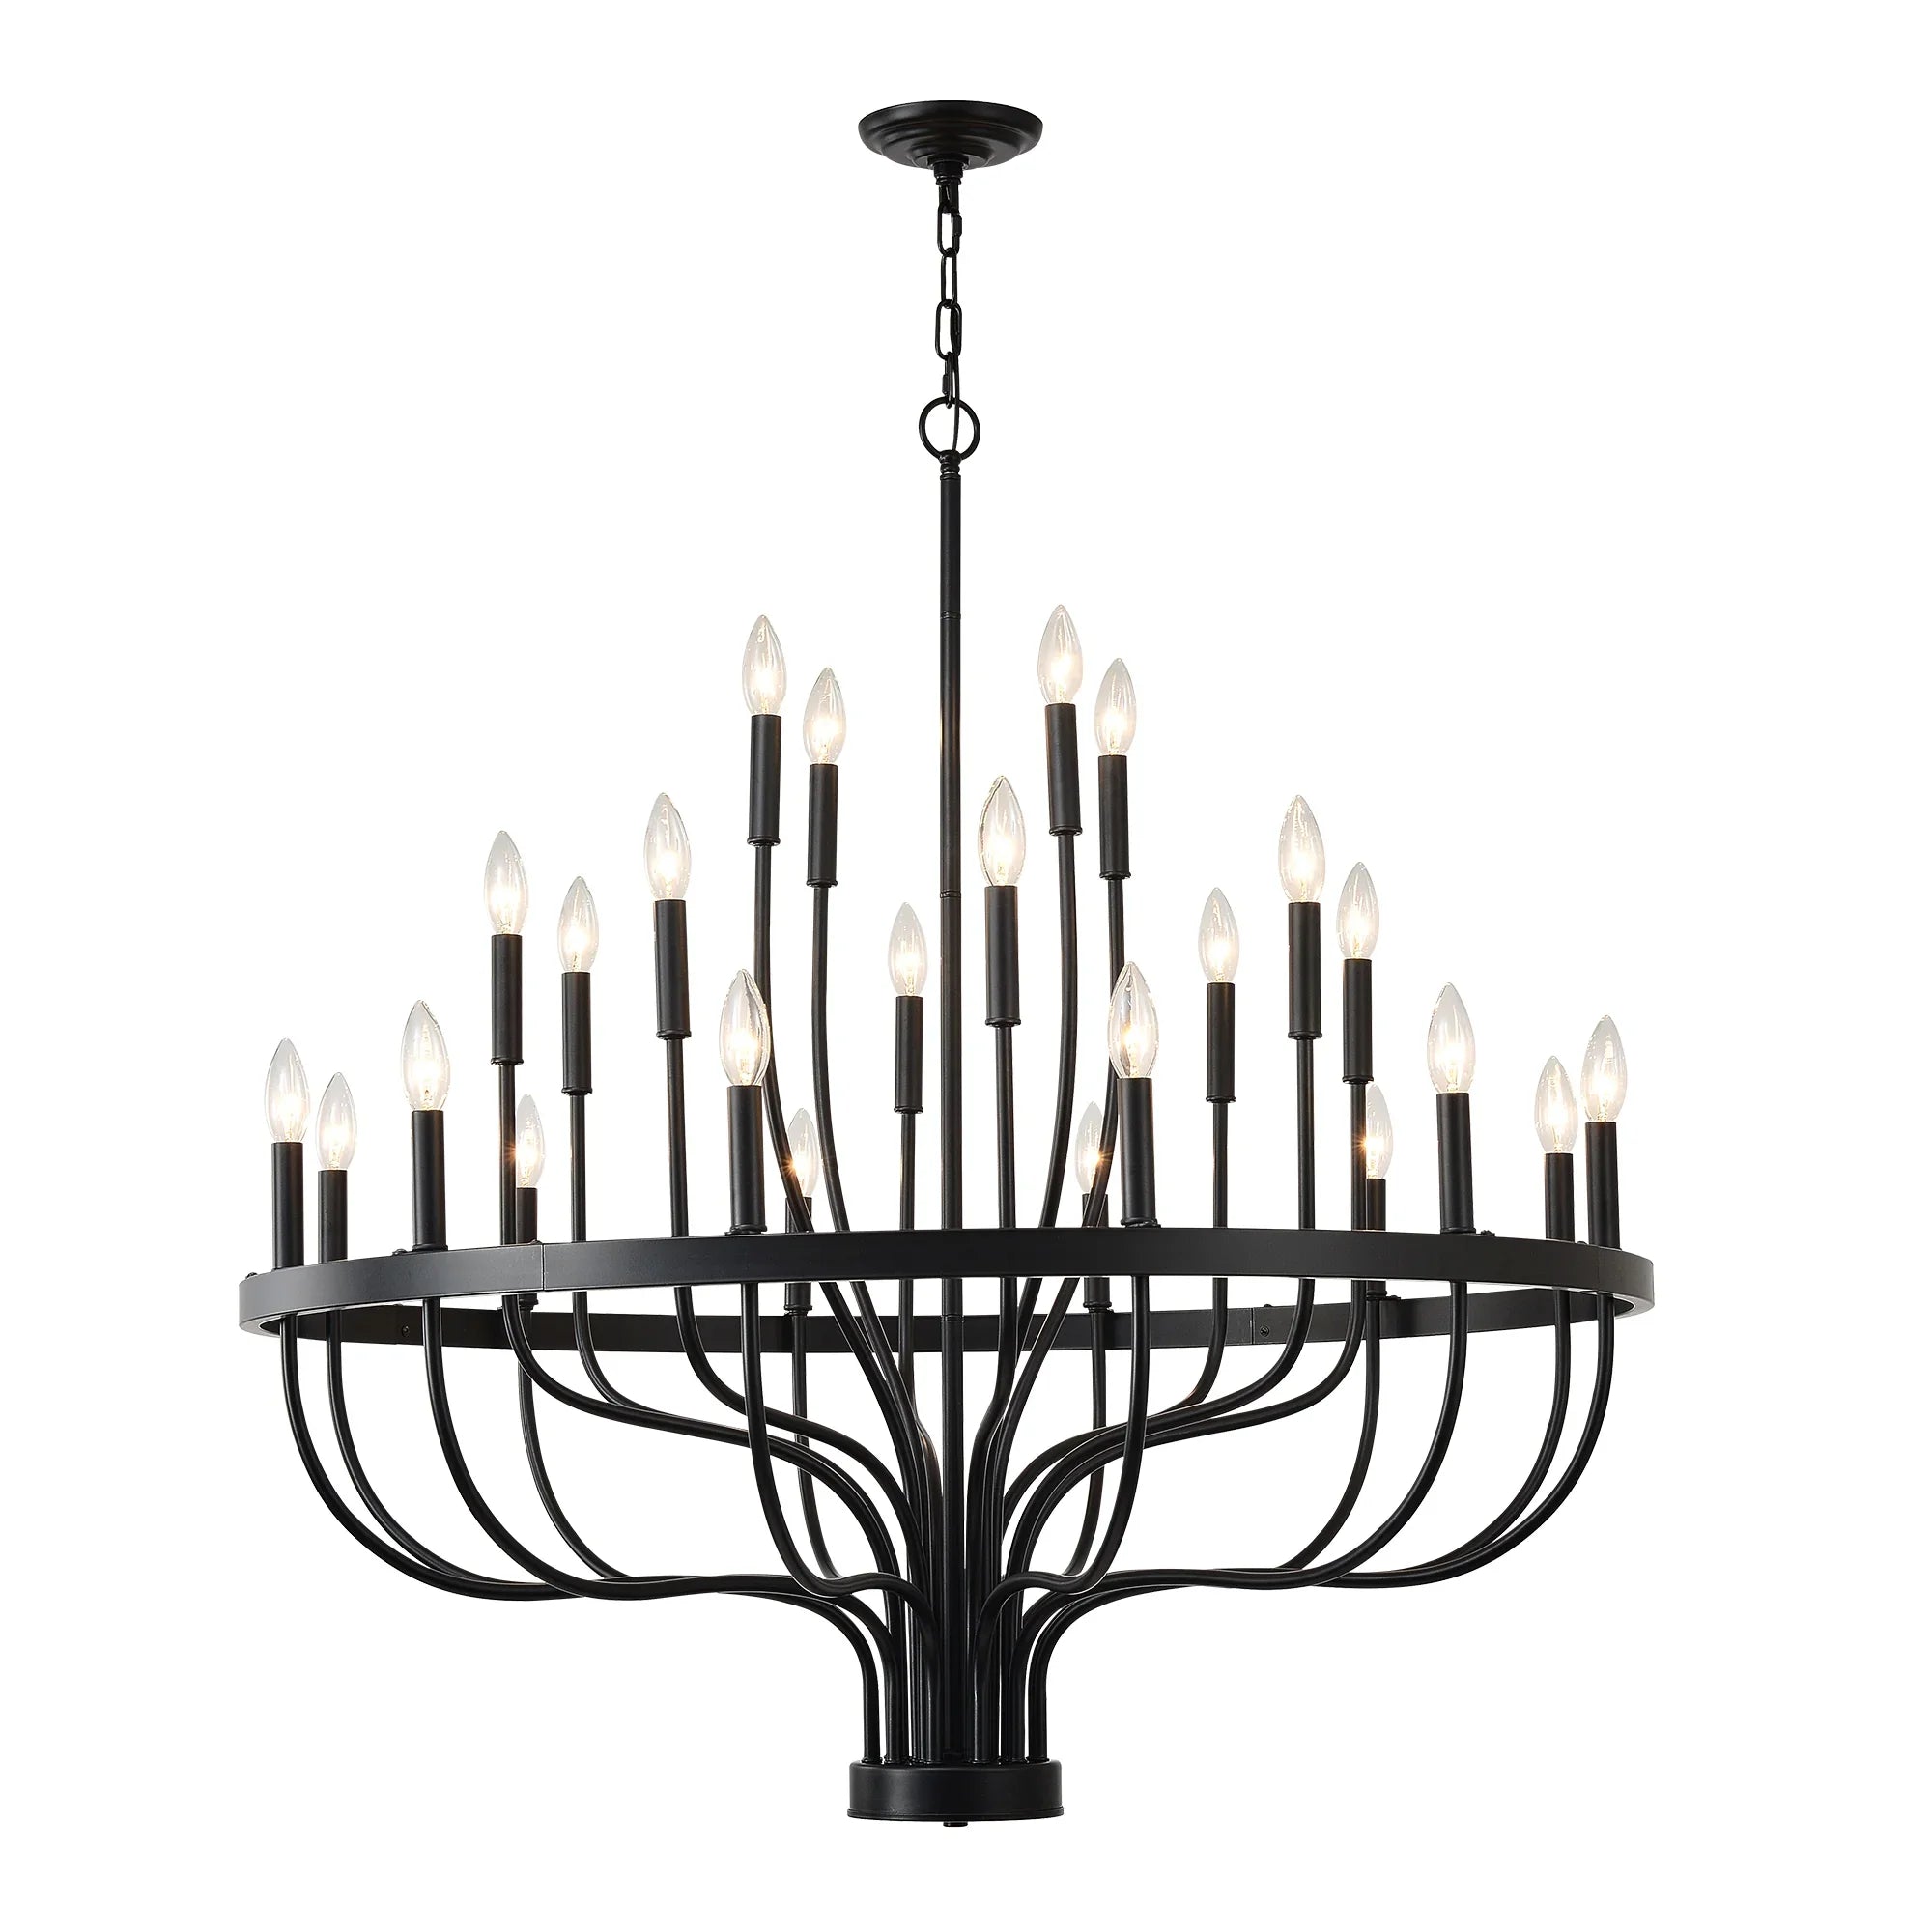
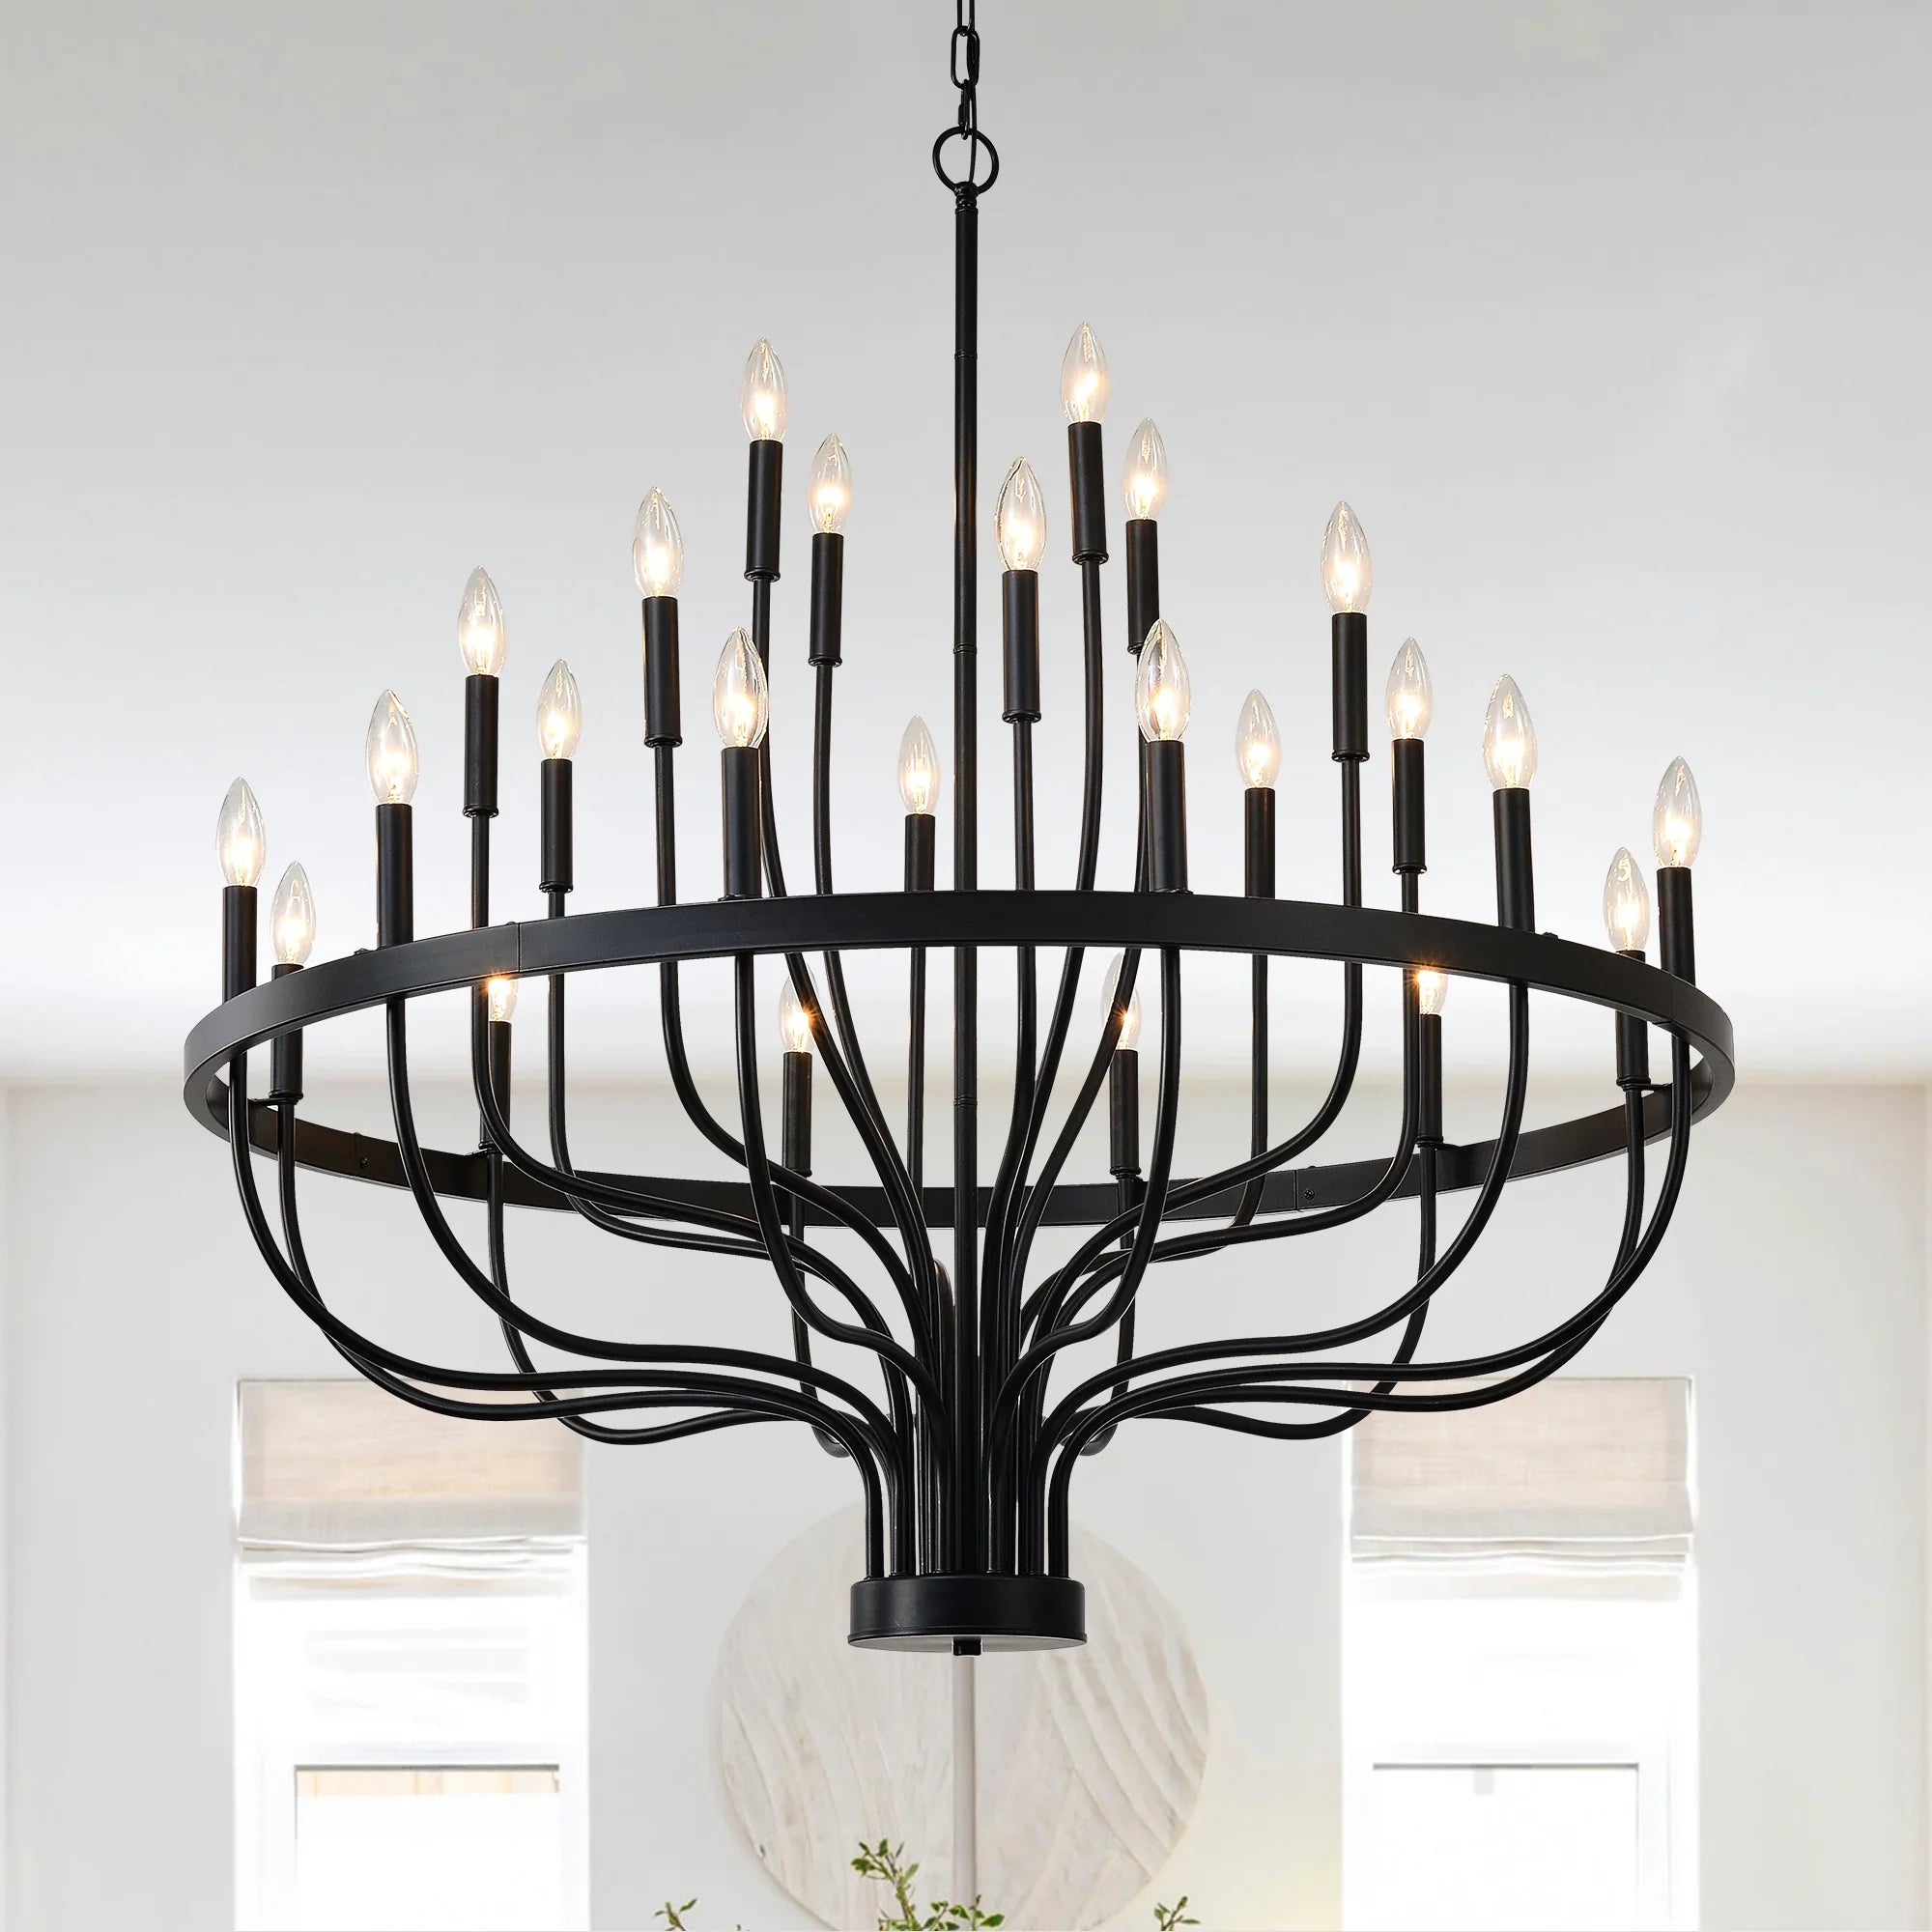
Industrial Iron Candle Chandelier 24-Light Black Modern Farmhouse Pendant Light Fixture for Dining Room
Choose options
Feature Bullets
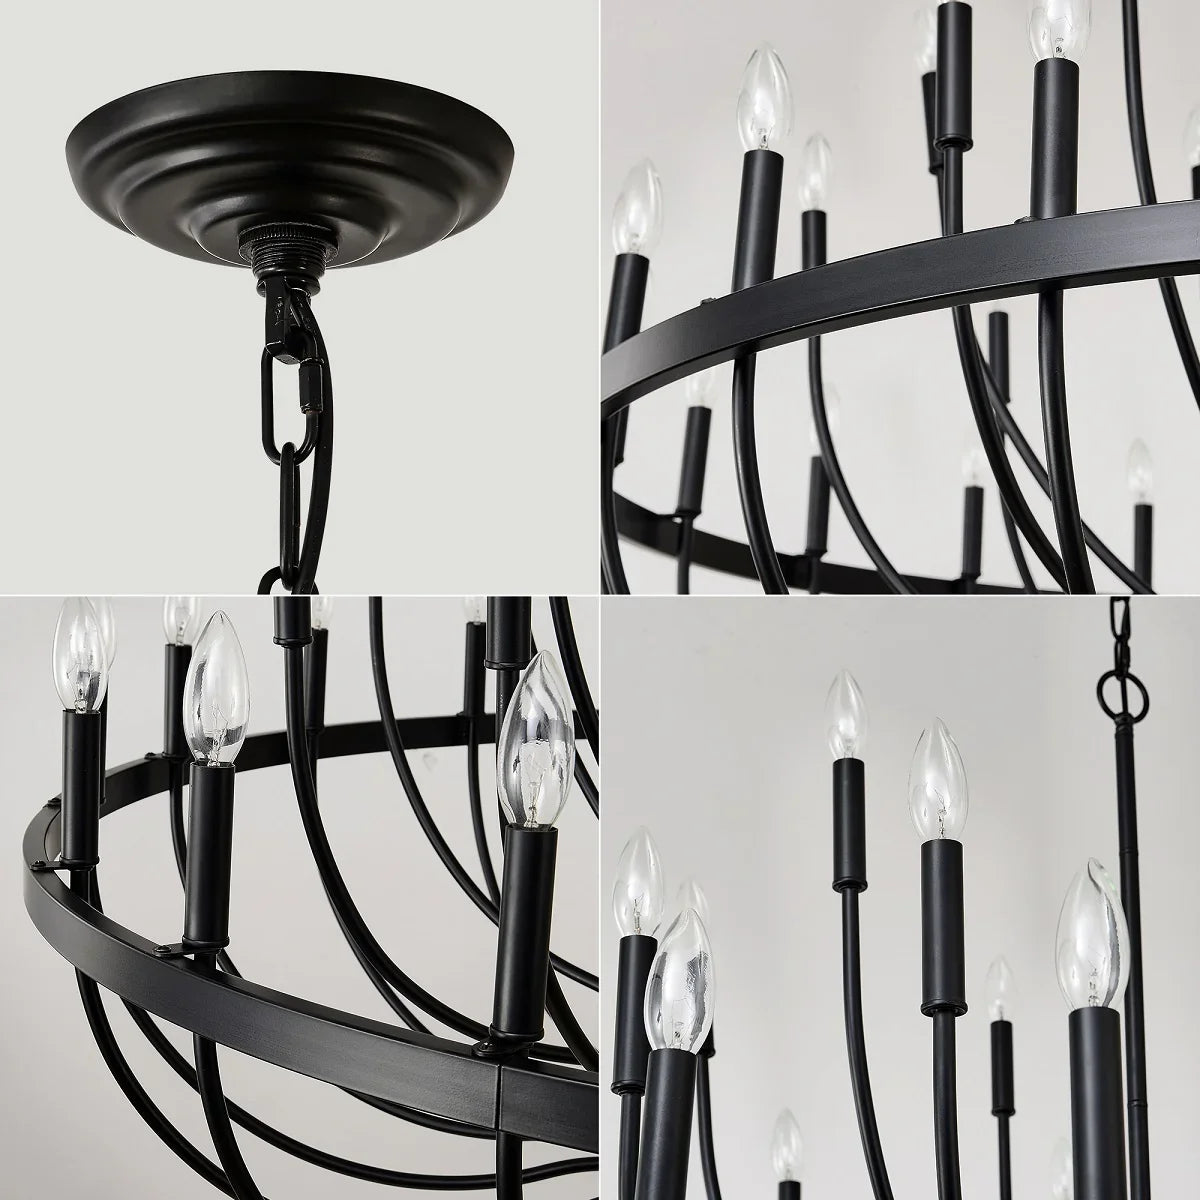
- Stunning Design: Combines quality metal frame with matte black finish for a modern look.
- Easy Installation: Pre-assembled lamp body; just fix ceiling plate and connect wires.
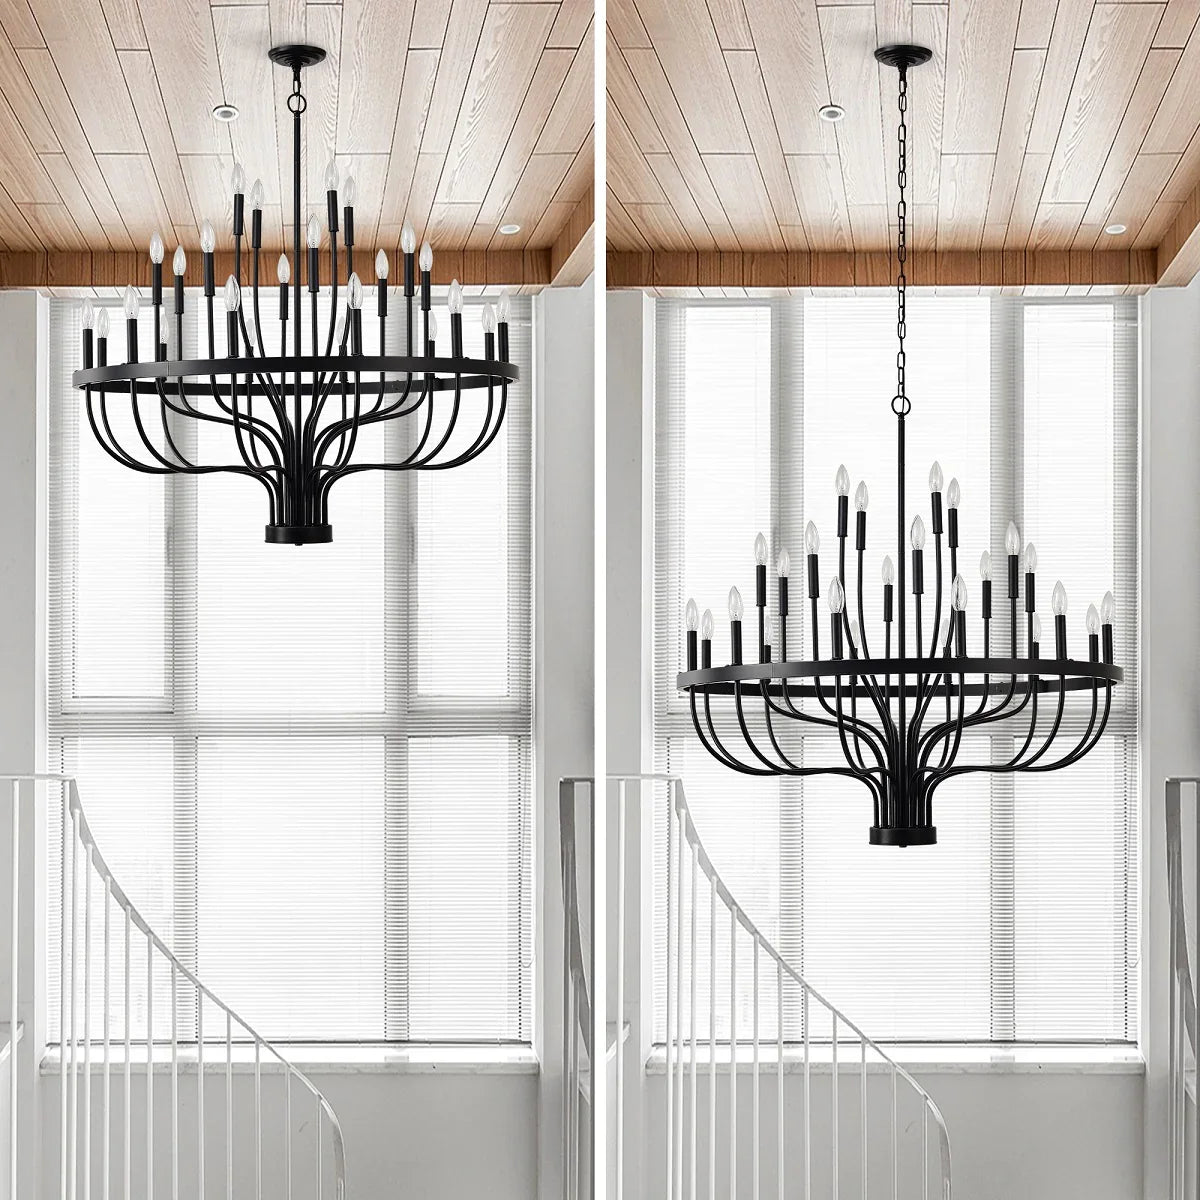
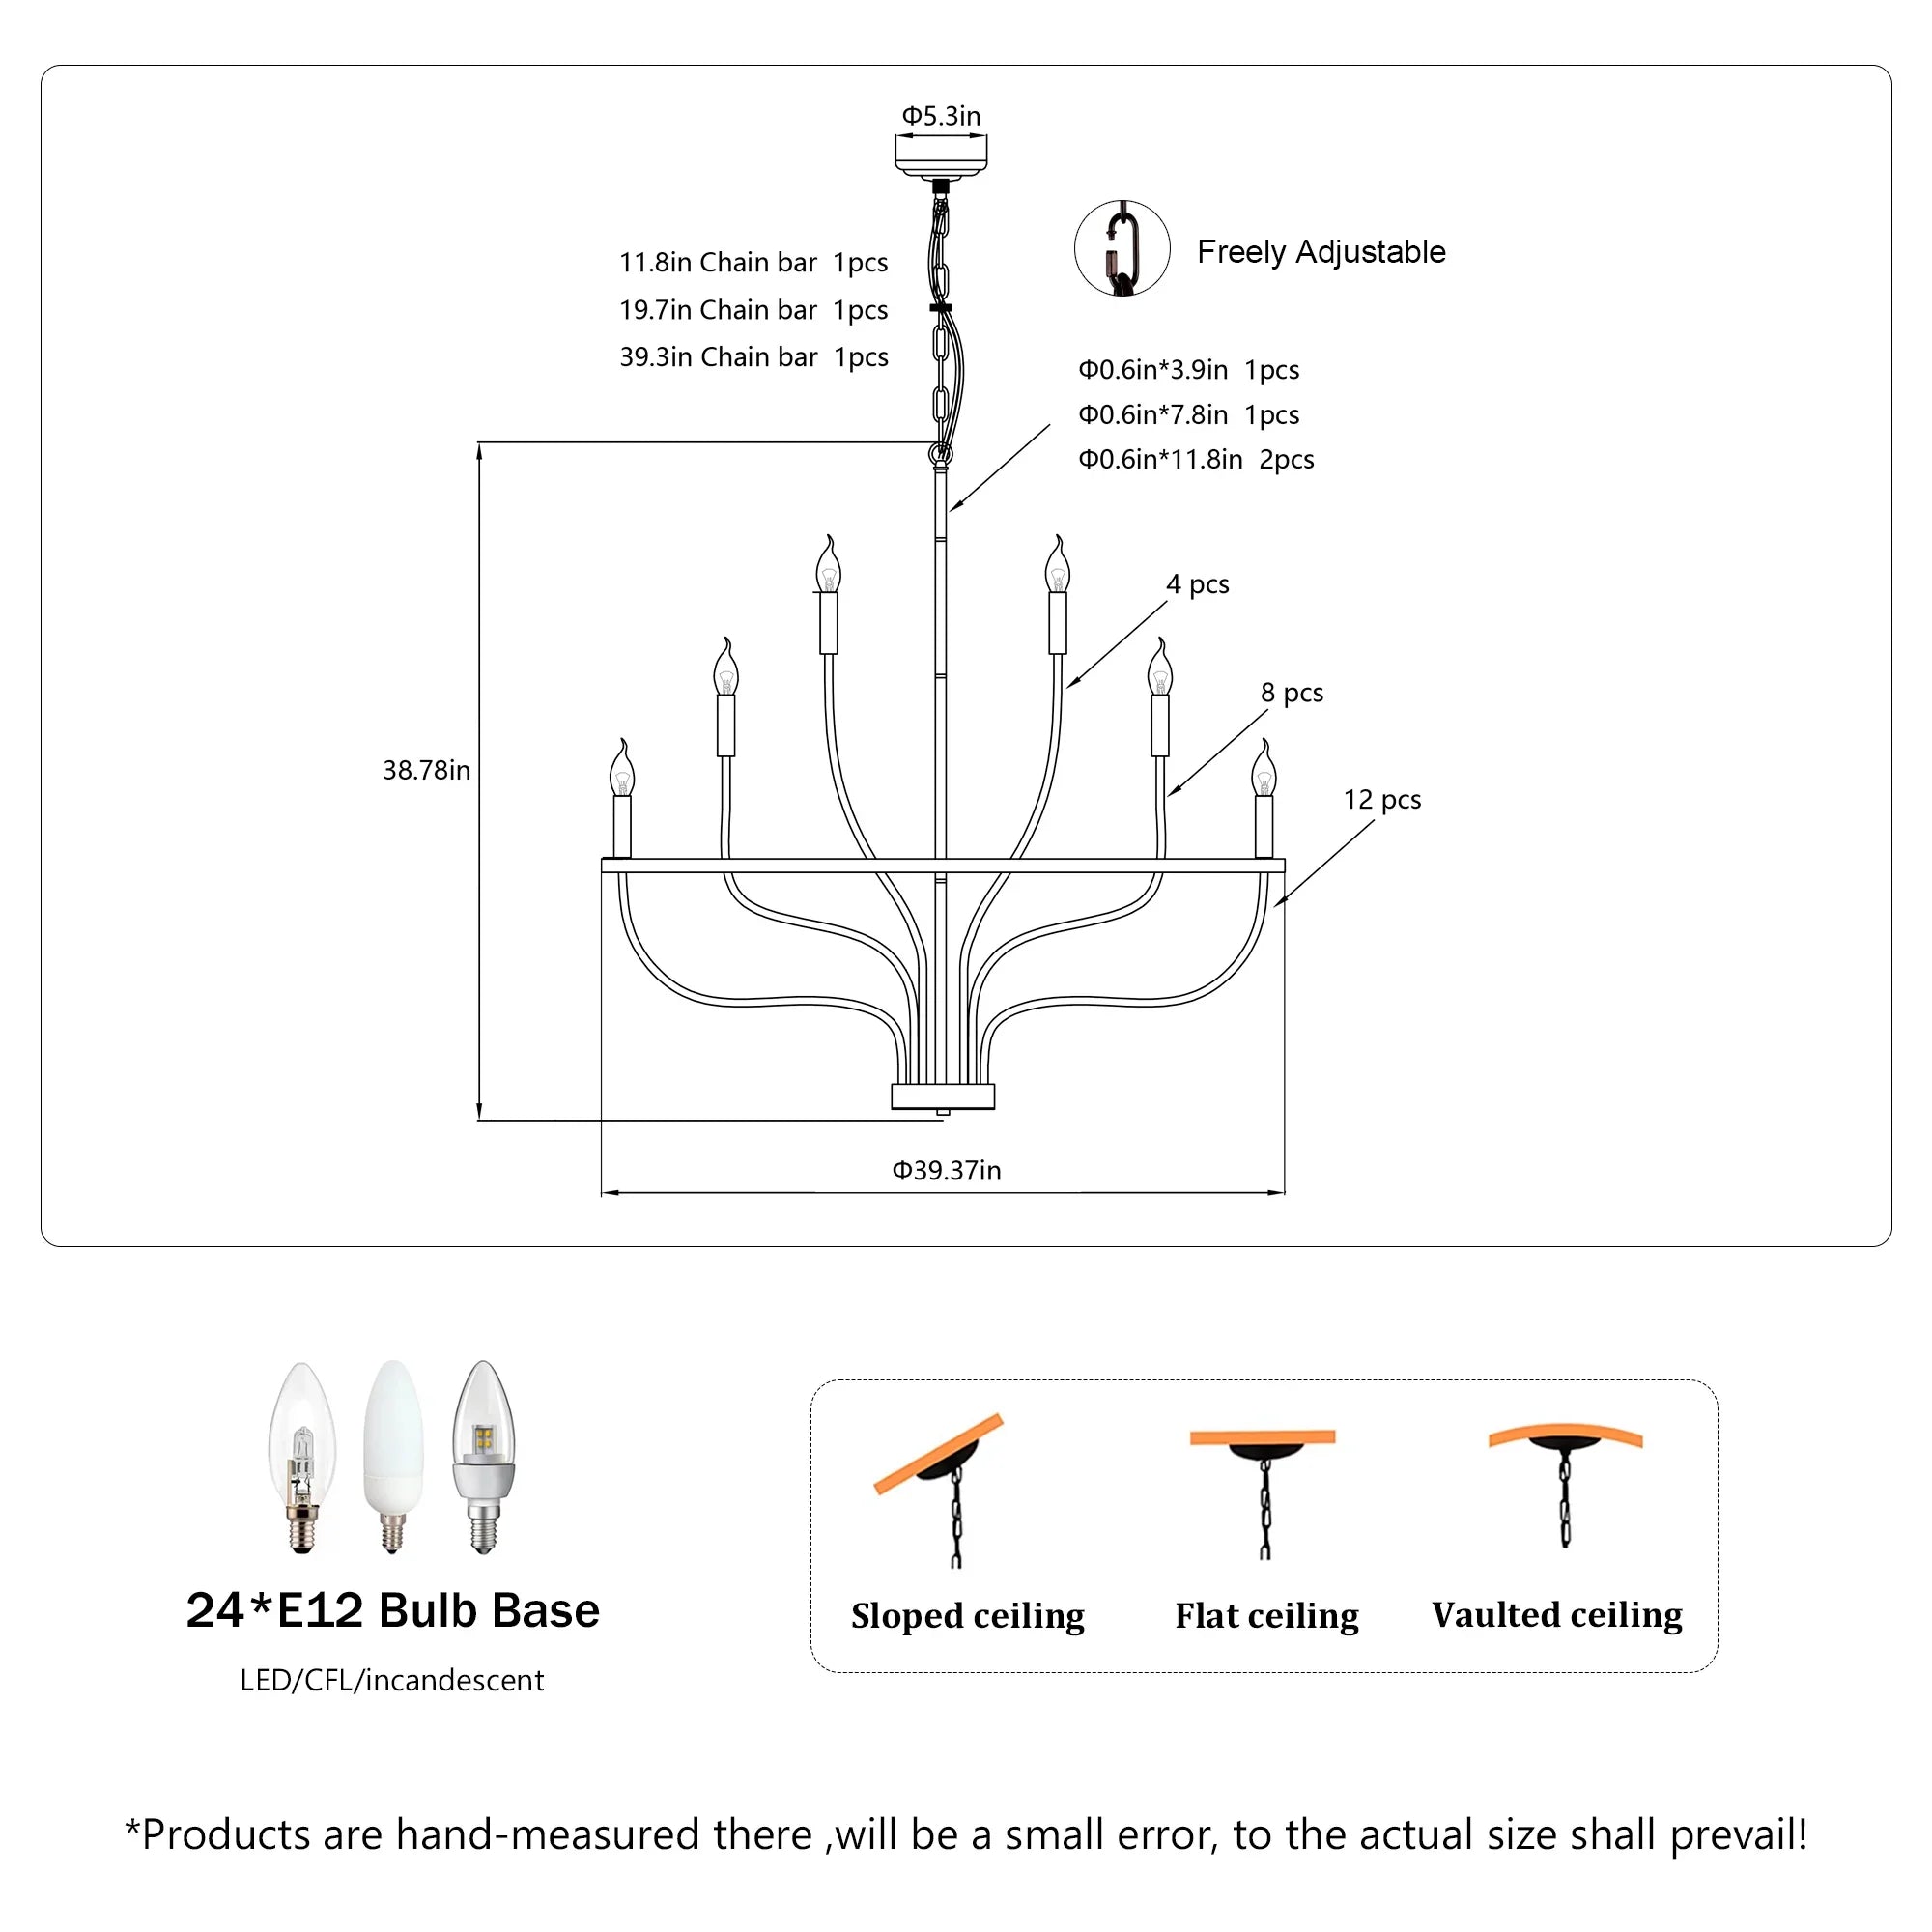
- Adjustable Height: Includes multiple rods and chains for a maximum height of 110.26 inches.
- Bulb Type: Equipped for 24*E12 bulbs with a max power of 25W each (bulbs not included).
- Wide Application: Perfect for indoor decoration in dining rooms, kitchens, and living spaces.
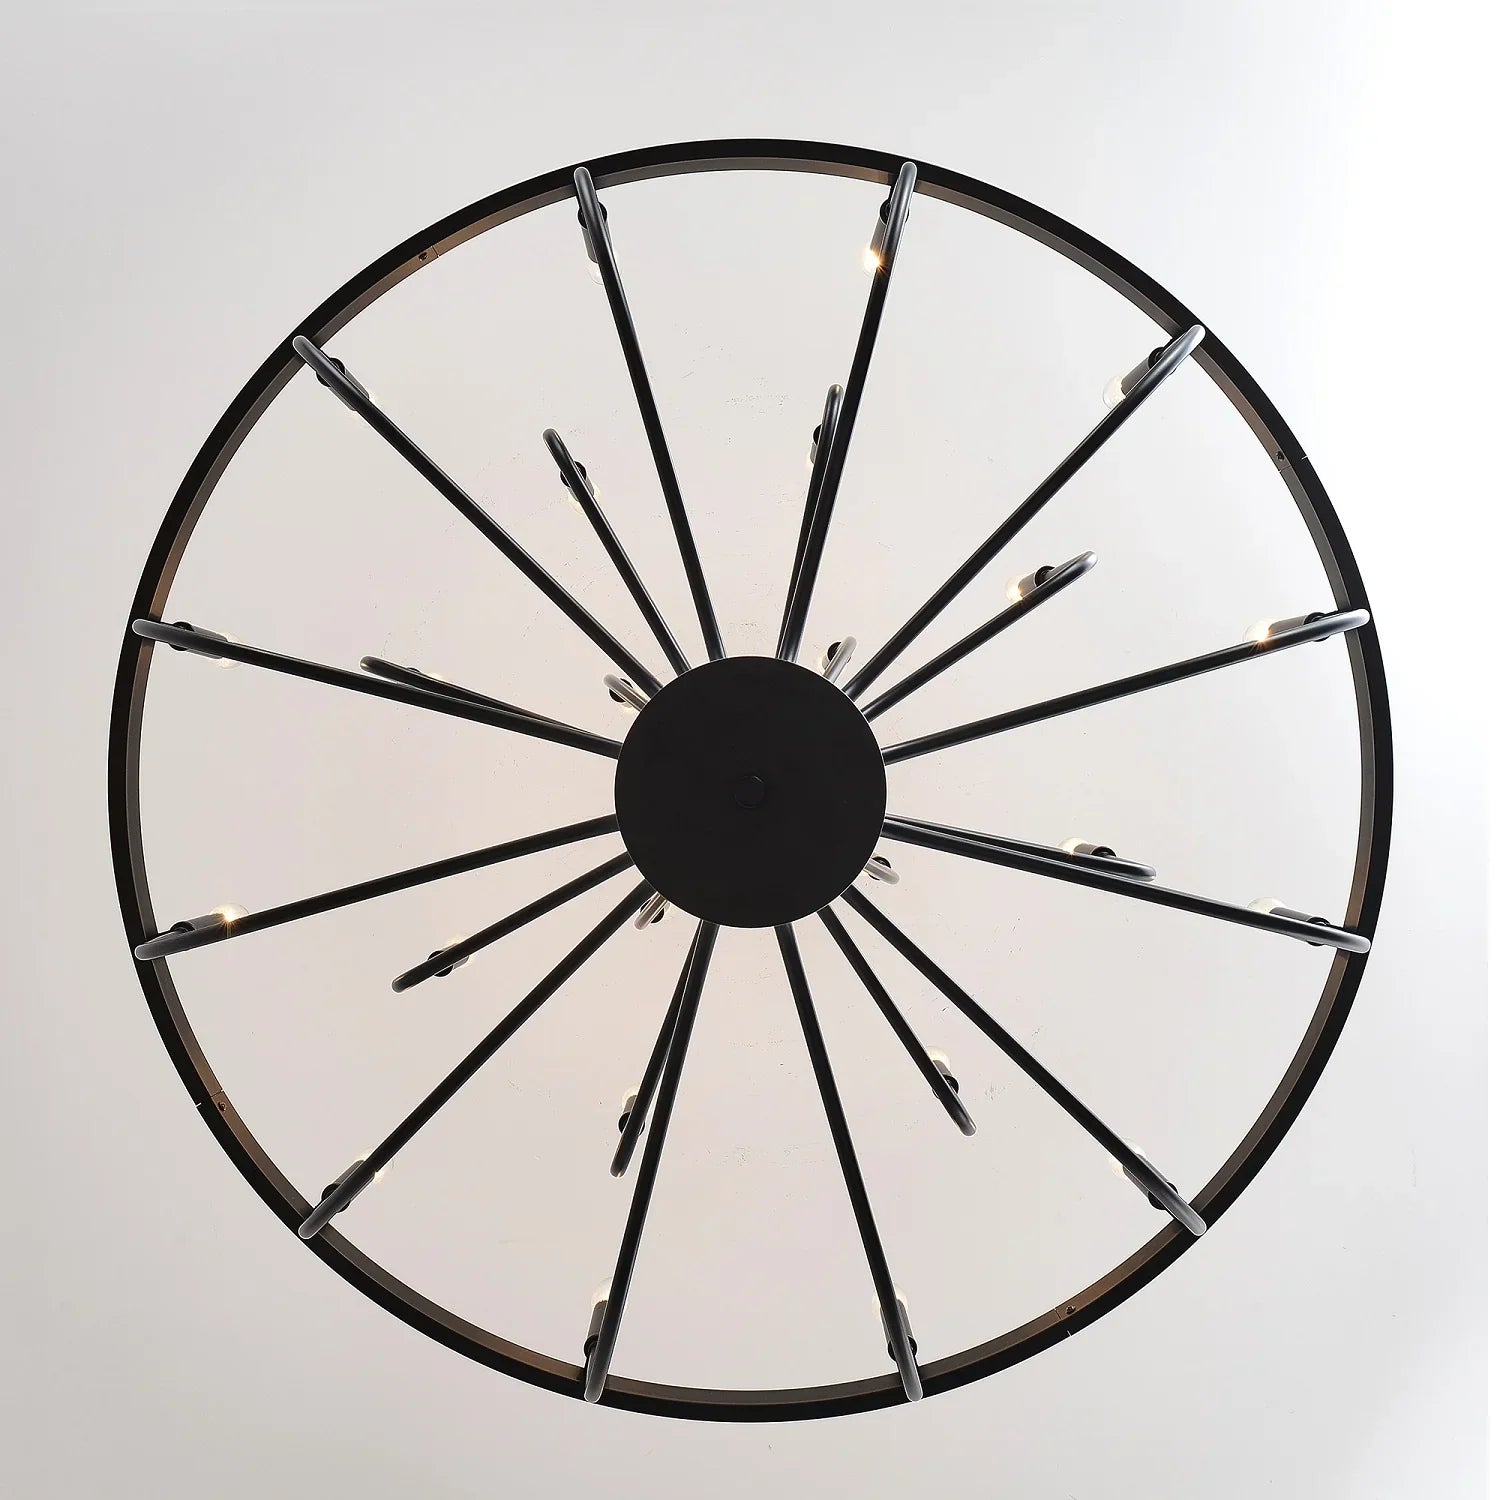
- Dimensions: Measures L39.4" x W39.4" x H38.8" with a weight of 33.1 lbs.
Specification
- Material: High-quality metal with a matte black finish.
- Design: Industrial candle chandelier with 24 light sockets.
- Dimensions: 39.4" x 39.4" x 38.8", weight 30.8 lbs, requires basic installation.
Customers praised this 24-light fixture as "beautiful" and "elegant," noting it "looks way more expensive" than its price. While assembly is time-consuming and requires patience due to numerous pieces and unclear instructions, shoppers found it "worth it." The fixture is very heavy, requiring proper ceiling support. Provides excellent light output; dimmer recommended.
Beautiful chandelier that makes a statement… a bit of a pain to assemble, but worth the patience!
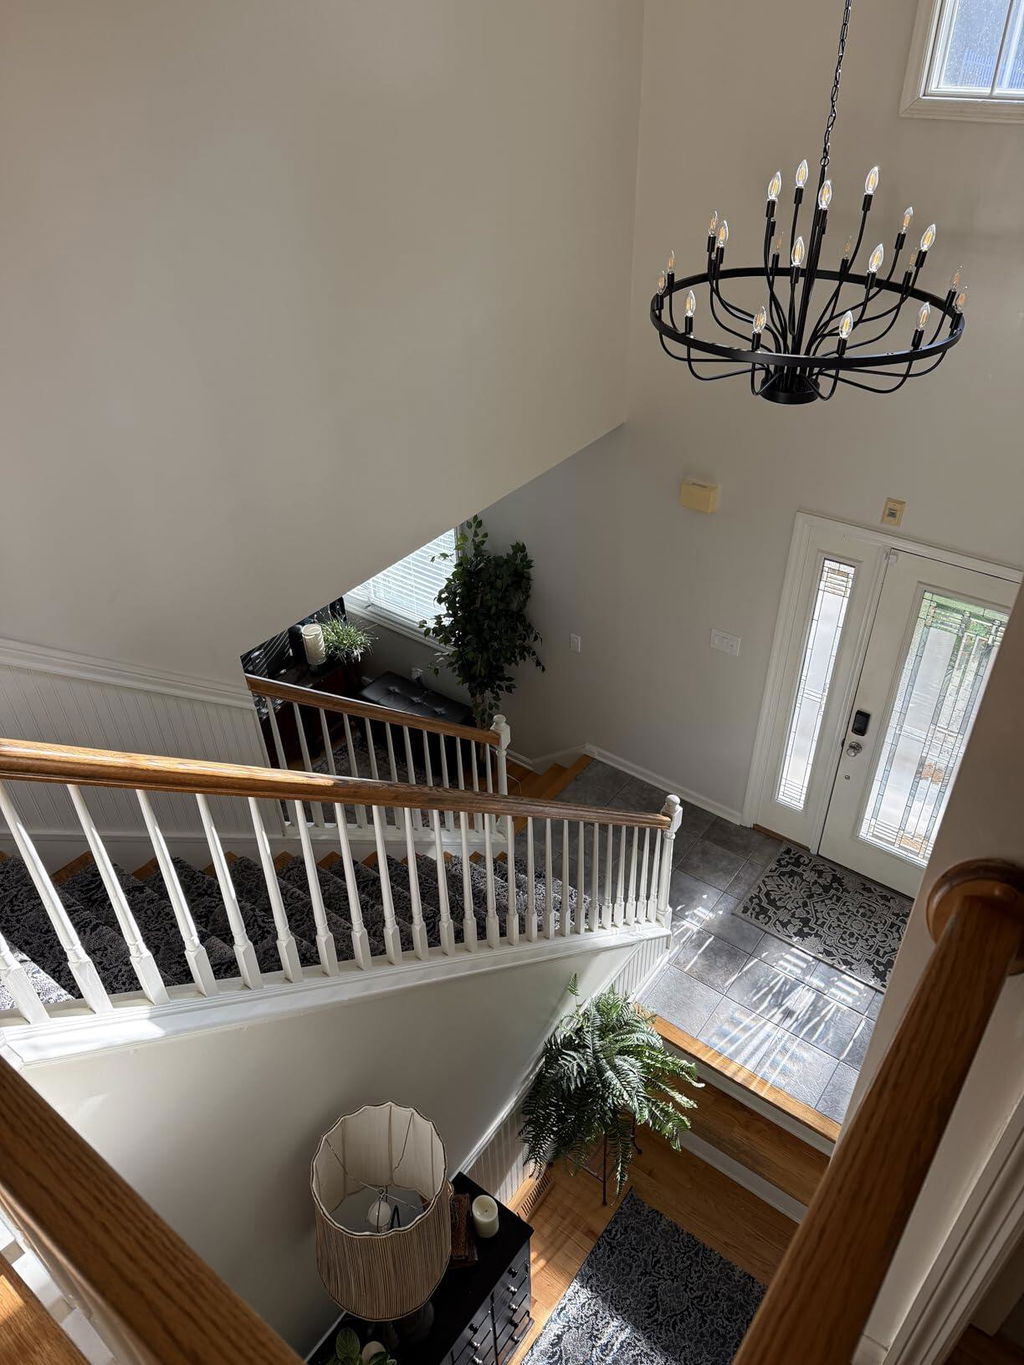
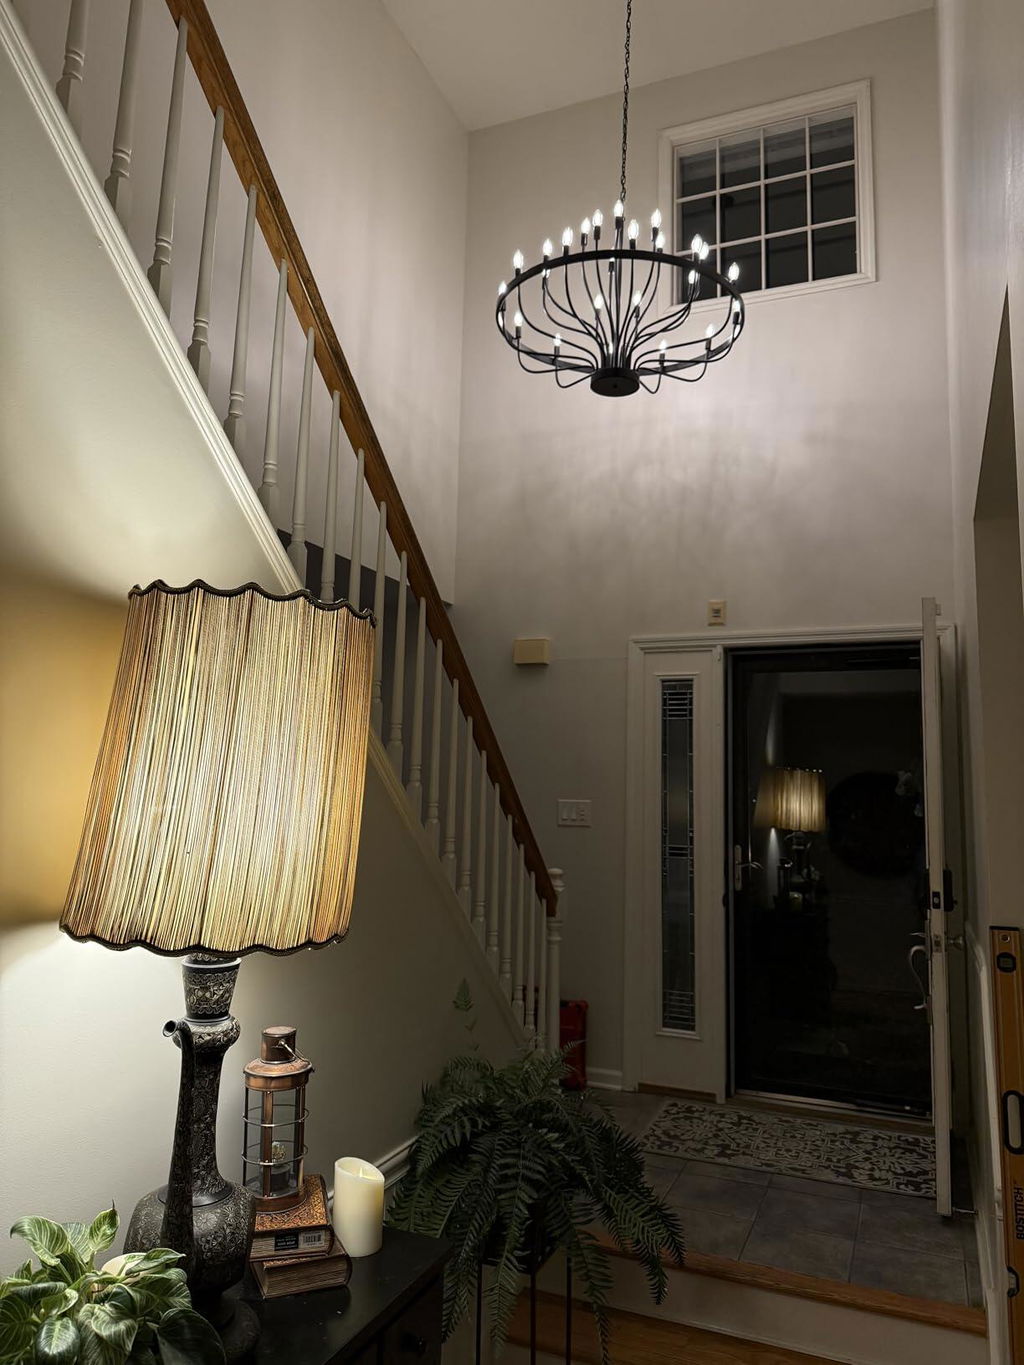
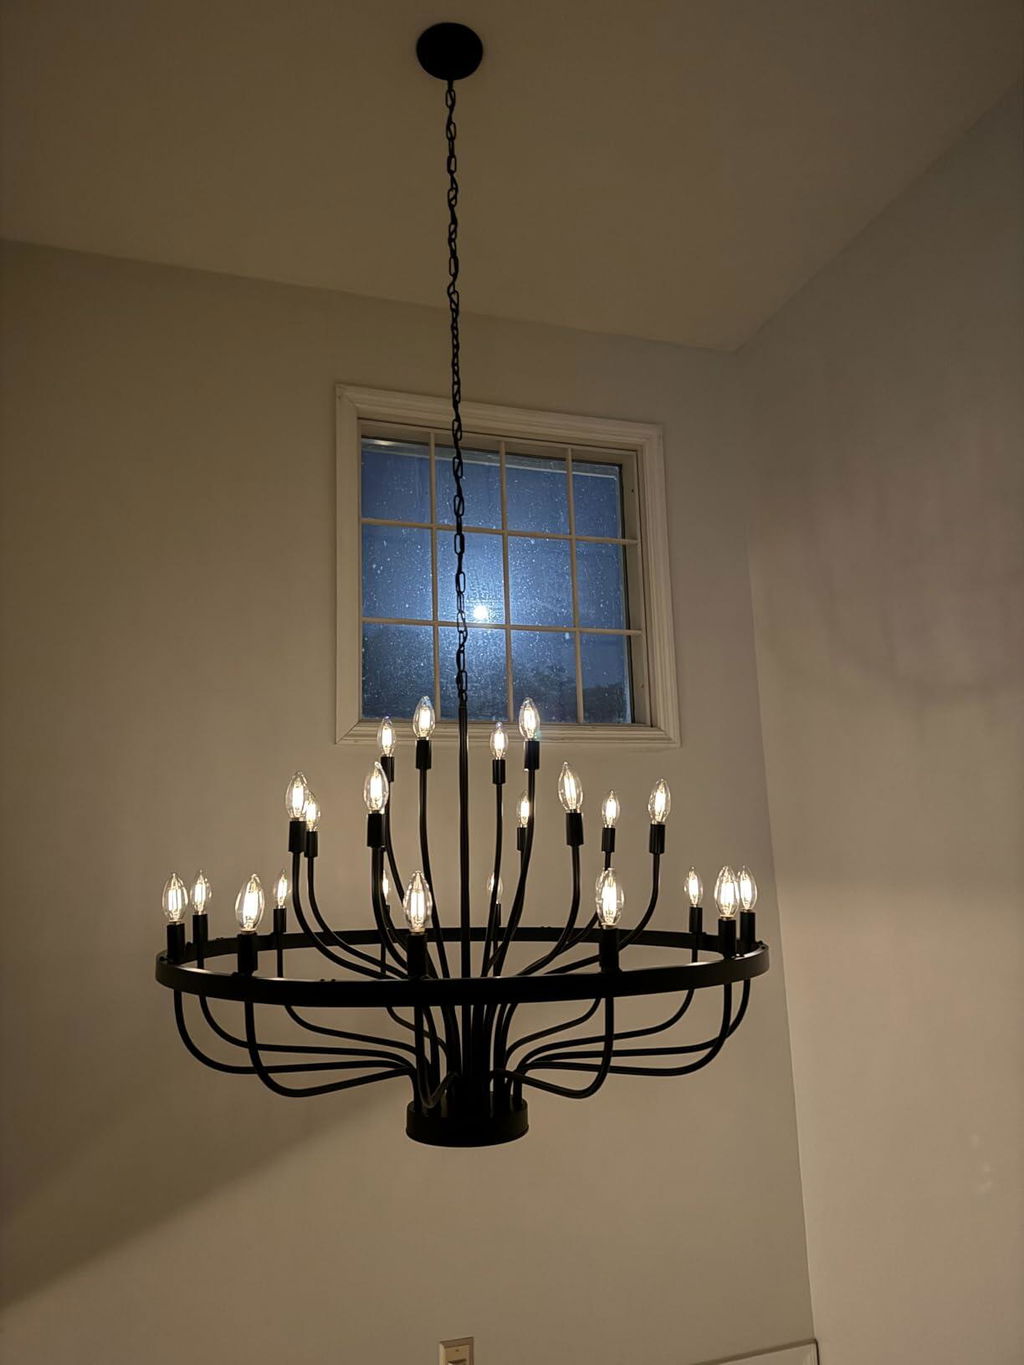
The wiring and assembly process was tedious, but if you don’t mind projects, this looks great for the price.
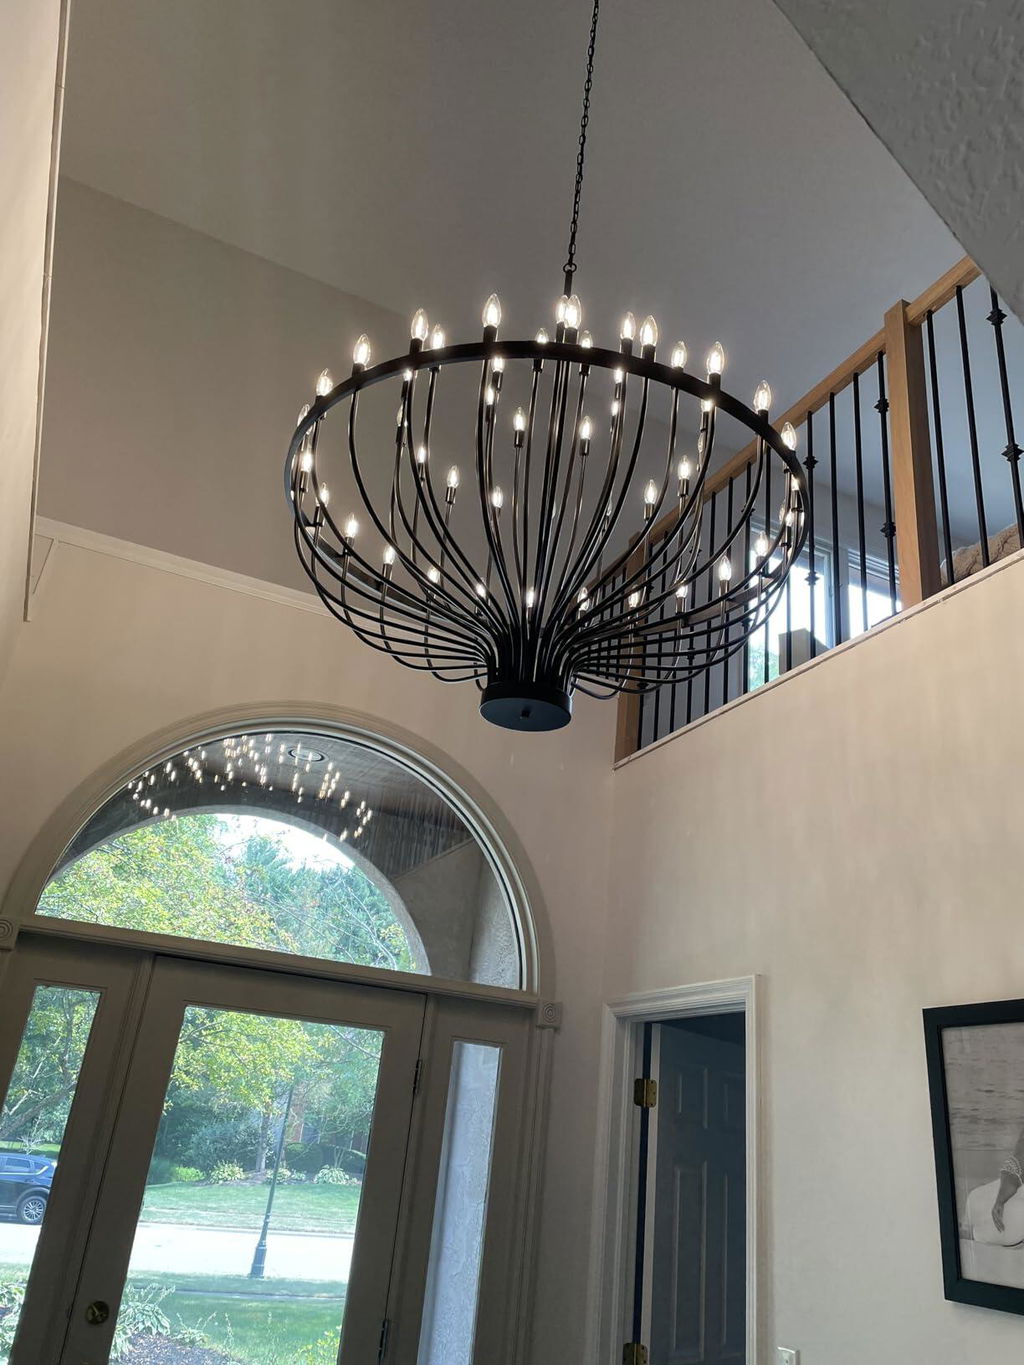
It arrived on time and in perfect condition. Easy to install. Nice, bright, and sturdy. I'm very satisfied with this purchase.
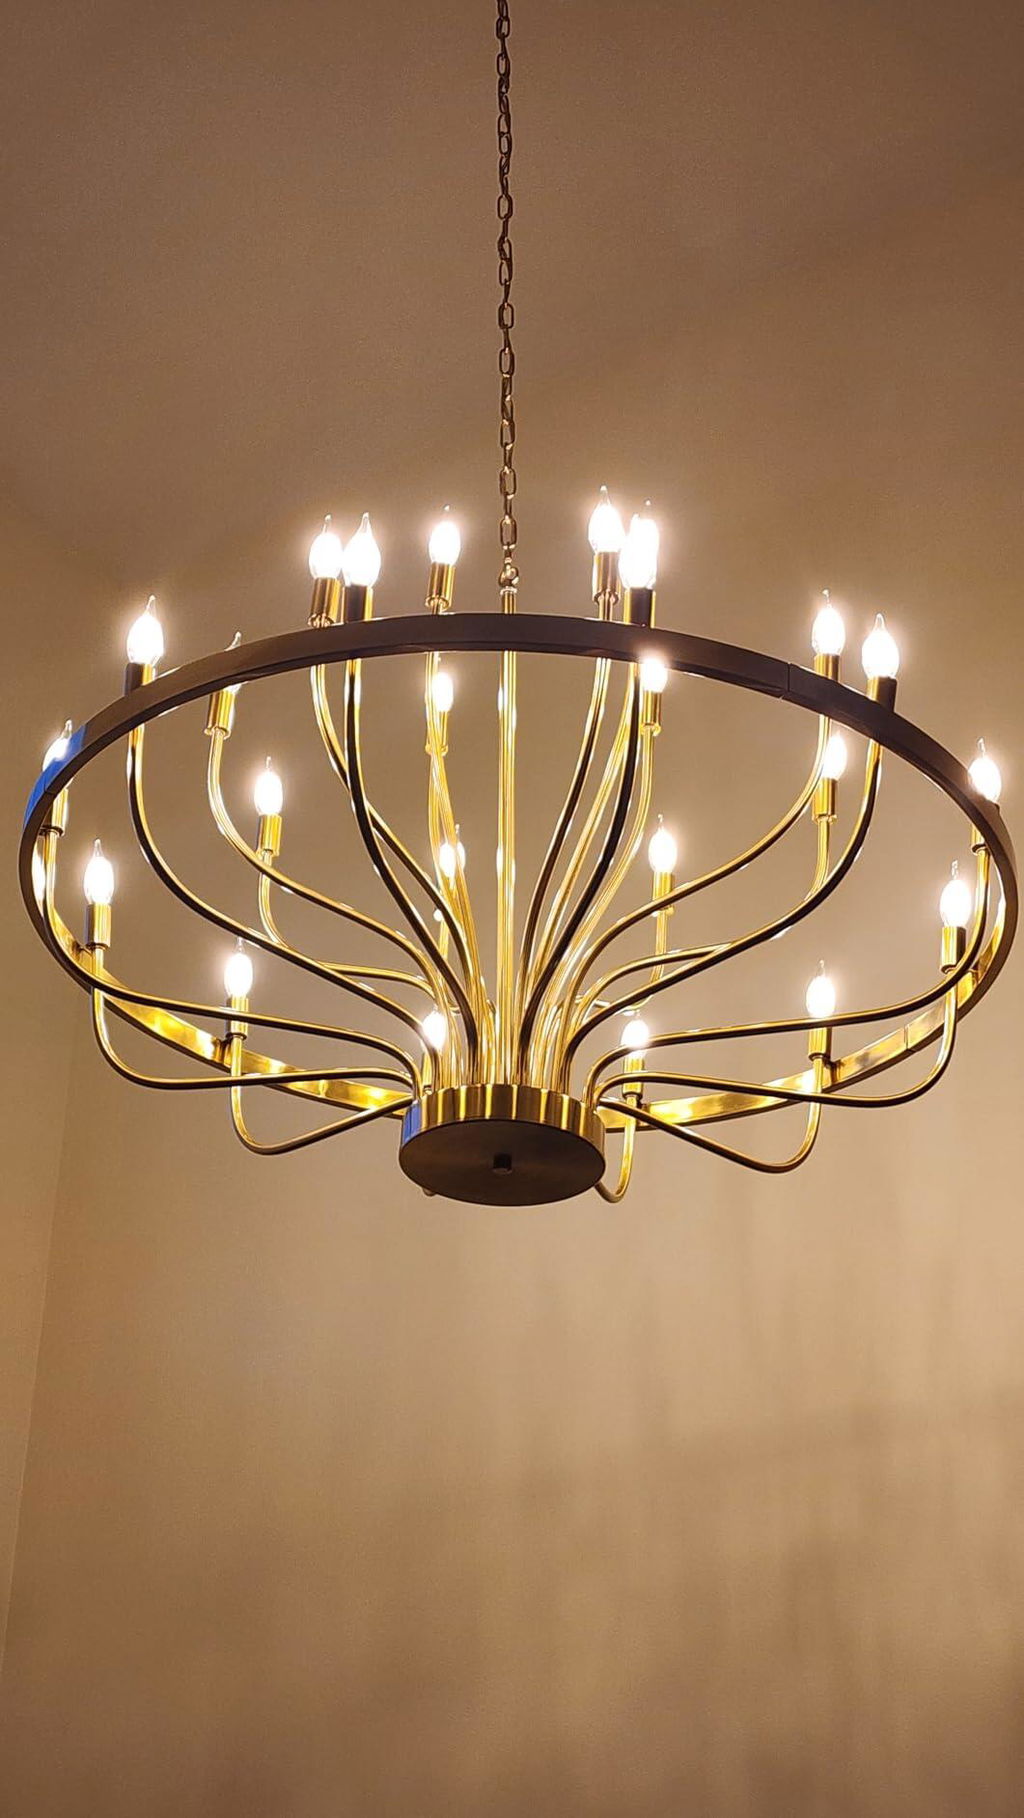
Easy to assemble and looks great.
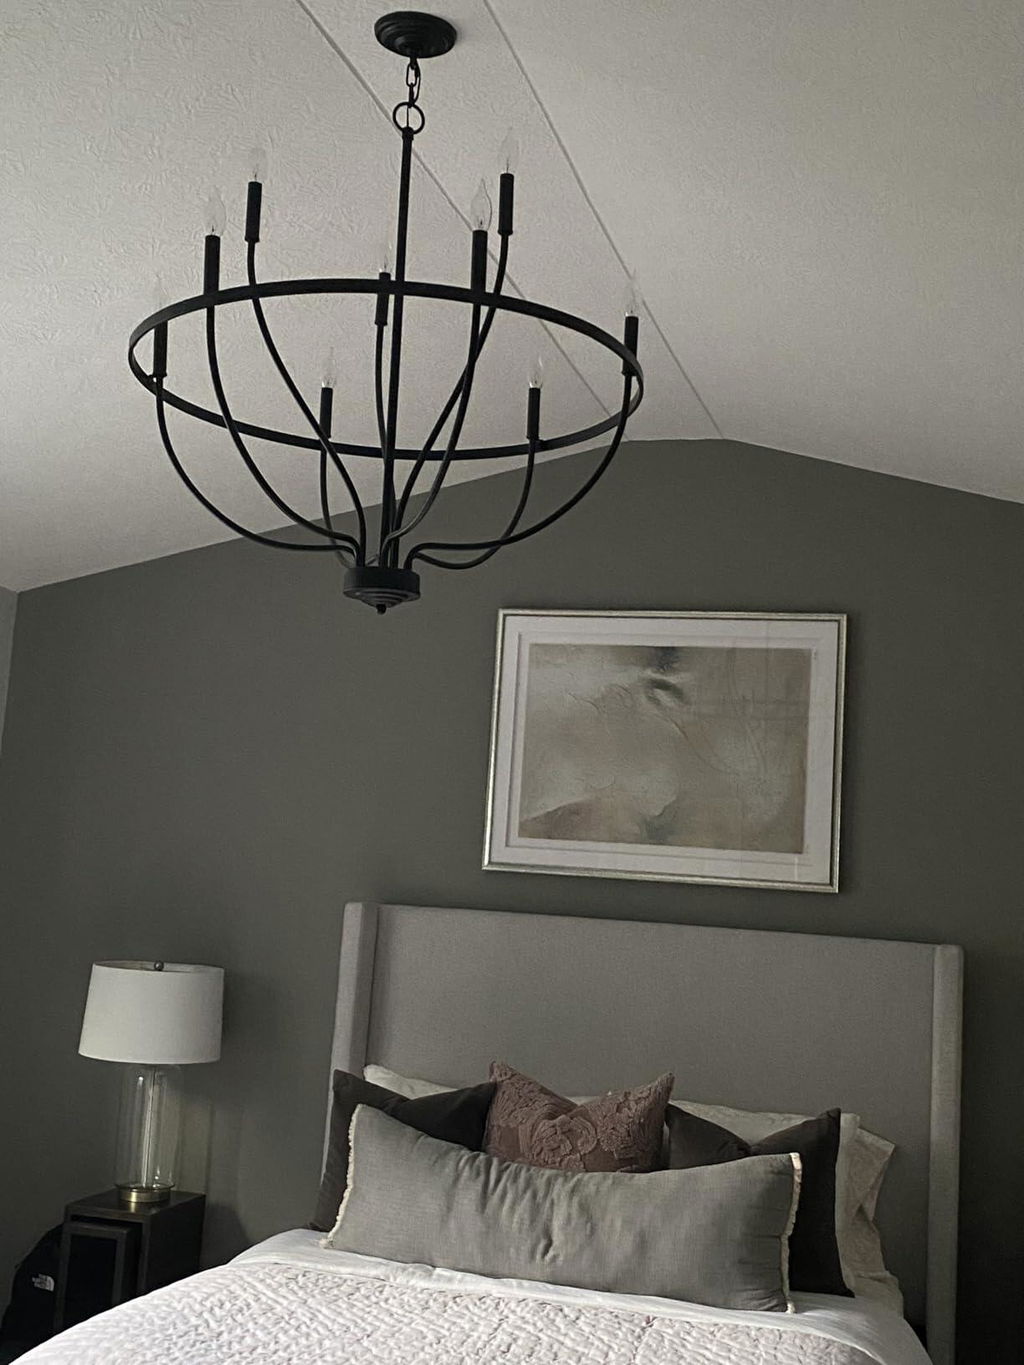
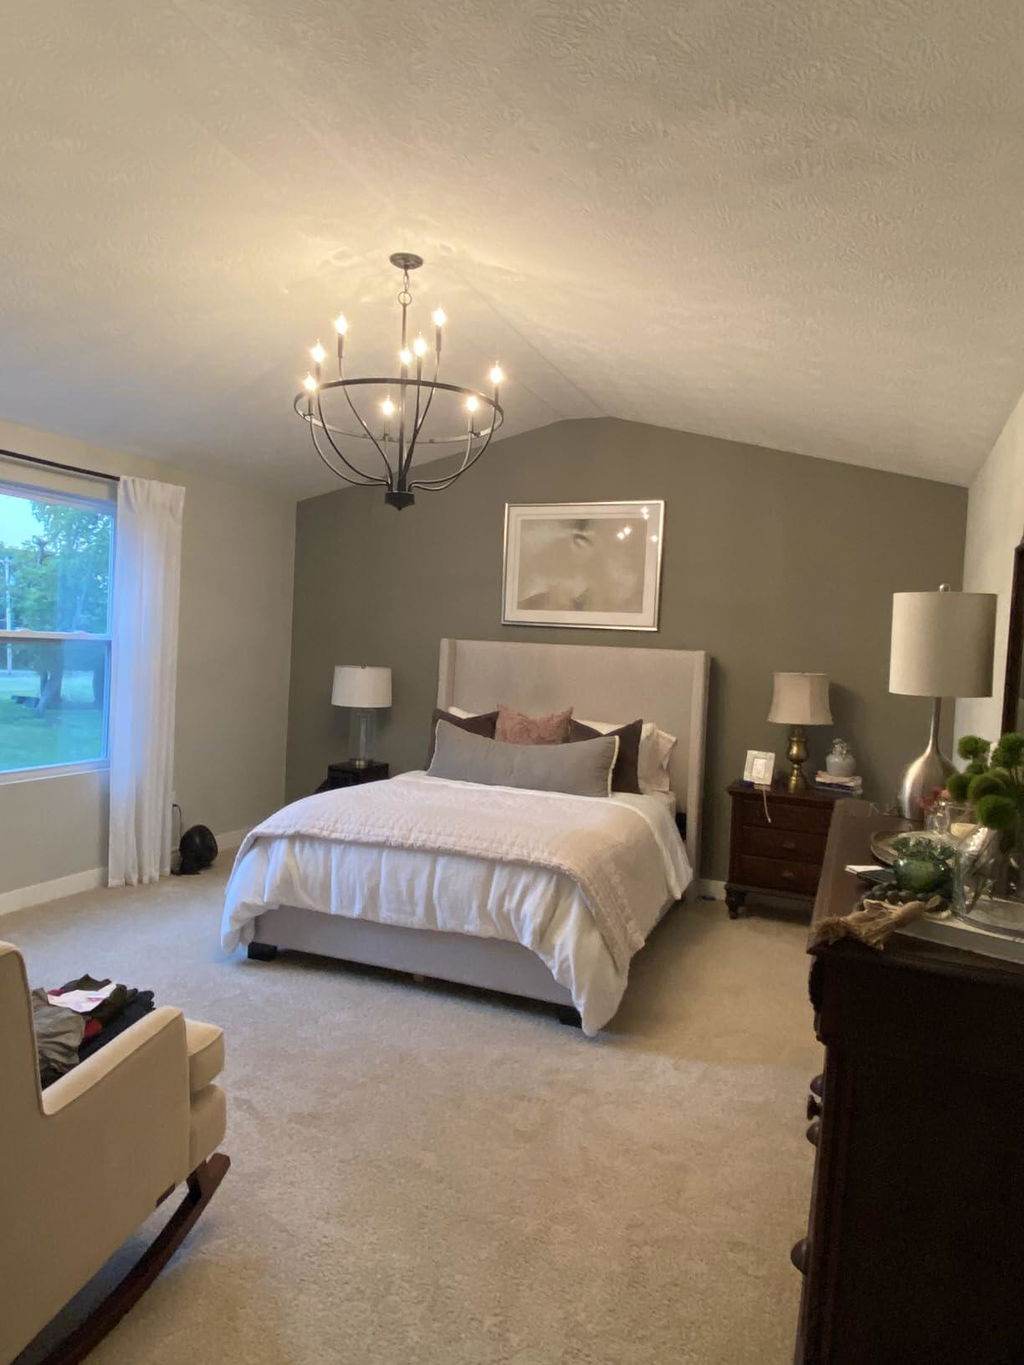
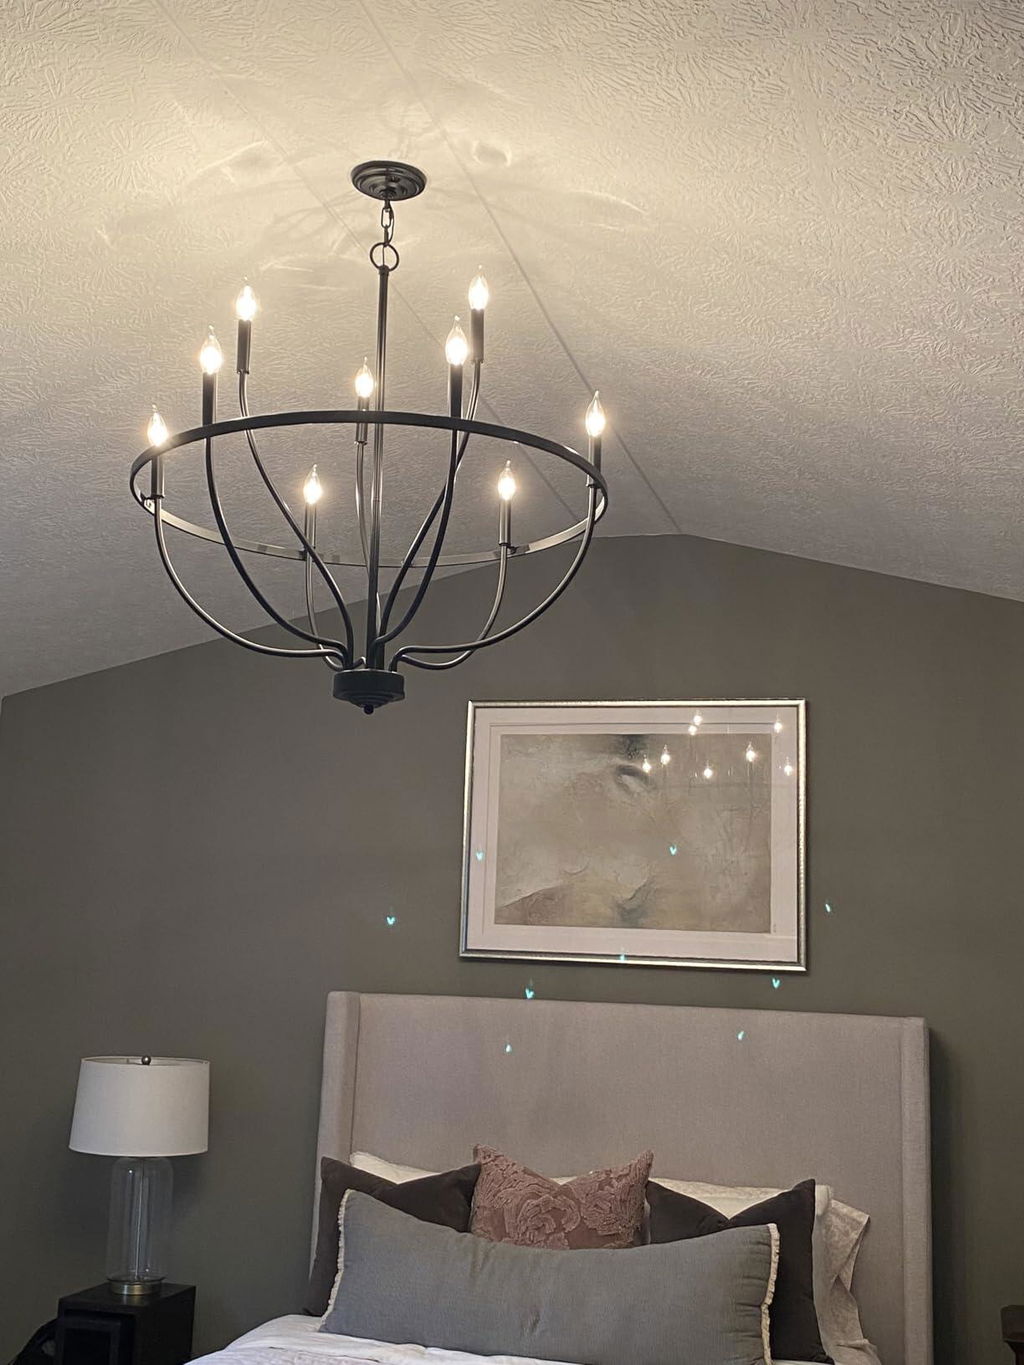

Very good quality, I love it!
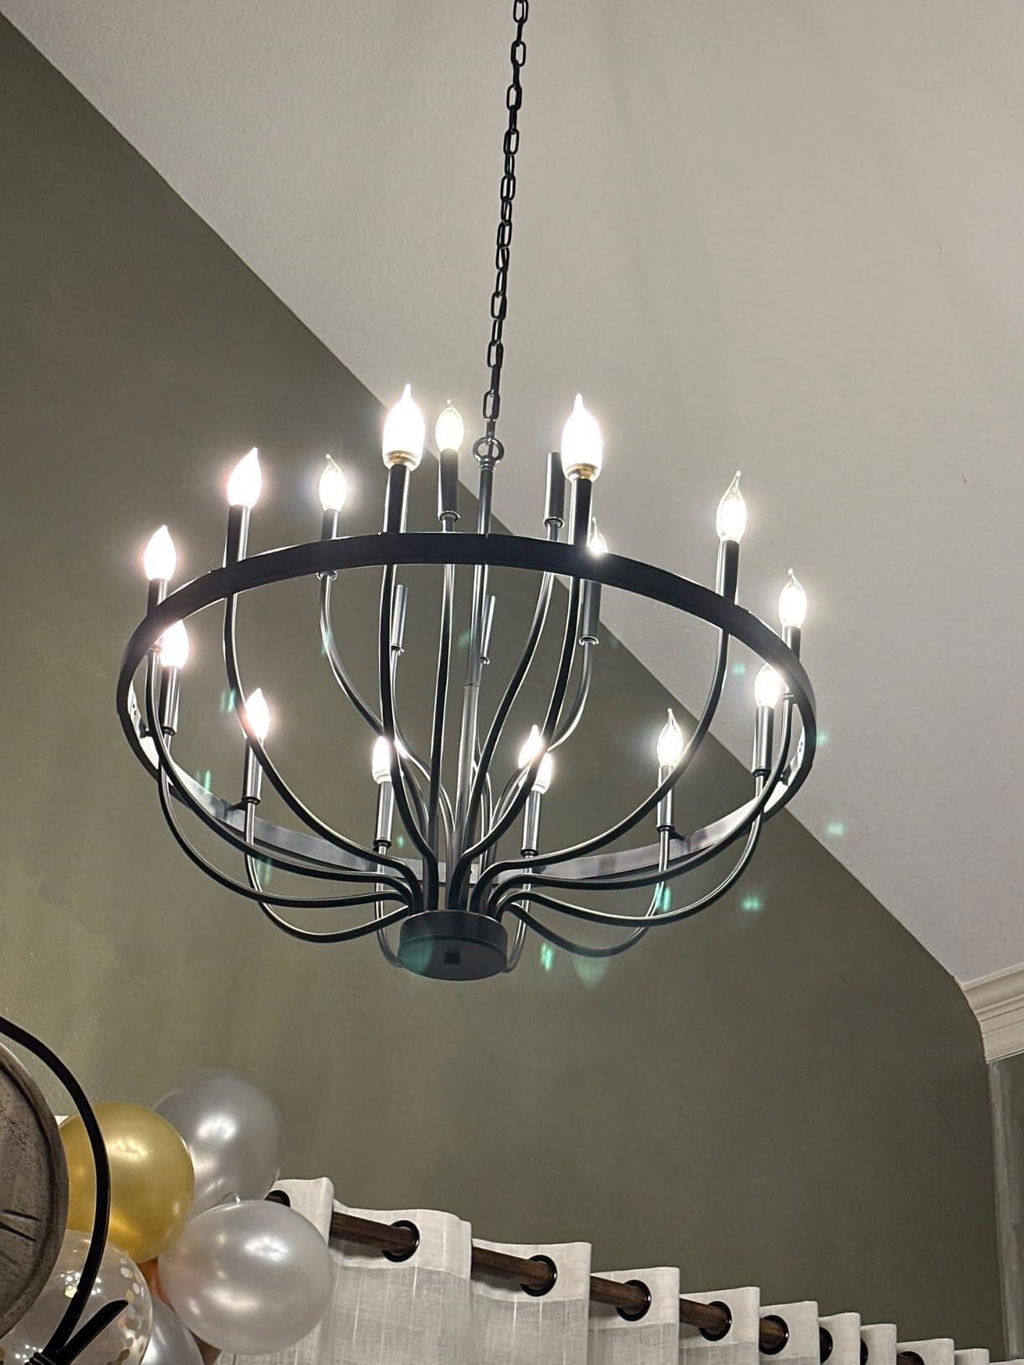
So this chandelier is beautiful but the instructions are terrible. I have the 15 piece chandelier.Hope this helps1. The first set of instructions stated there are 3 different chandelier arms. In my set there were only 2. In addition it does not tell you which is which and why. The pieces without a hinge are the internal pieces. The ones with a hinge go on the outside of the chandelier.2. They tell you to take off the bottom piece - it unscrews - on the chandelier arms, you must unscrew the nut and washer and put the arm into one of the holes. Start with the internal pieces which have no bracket - put the chandelier arm into a slot in the bottom of the chandelier then replace washer and nut on opposite side and tighten. I started with the internal chandelier arms without the brackets first (they went in the middle holes - the arms with brackets go in the holes on the outside).Side note - on the bottom of each arm is a black and white wire that is looped. You must weave the wires through the nut and washer and secure on the bottom of bracket.. My kit came with a wrench like tool that was all I needed. Use that tool to tighten it on the other side. Don’t worry about cinching it down solid - the arms will continue to move around. Here is where the placement of the arms matter. Make sure the ones without hinges go in the internal holes. I had 5 of those arms. I had 10 pieces with hinges they went in on the outside.3. Here is the tricky part - wiring. The black and white loops I mentioned earlier - gently pull the loops out. One of the ends will come out of the arm. Straighten both wires.They give you 4 wiring boxes. Mine were white with orange arms. So what you must do is pull back the orange arms completely away from the box - like a a Pez dispenser - Open but still attached. Using the wires you pulled from the chandelier arms you will collect all white and all black wires. You put all of the white wires in 2 boxes and all of the black in 2 boxes. Meaning you will put each white wire in a slot of the wiring box and close the hammer shut so it pinches the wire securely in the wiring box. My boxes had 8 slots a piece - so a total of 16 spaces for 15 wires per color. Now there is a wire at the bottom of the chandelier. In the instructions it says one is black one is white - it wasn’t that way. Mine said N and A I think ( don’t quote me on that) I do know one goes in each box - I do not remember which one is which - you will have to look it up - sorry! Once finished with wiring boxes - screw on bottom piece when wiring is complete.4. Remainder pieces - Ring on the outside - was in 4 pieces. Make sure you look at the 4 pieces before you assemble. Lay them out on a table and look at the internal screws. This will let you know the spacing of the outside arms of the of chandelier. If you do not, the spacing of the arms will be off. Once you have the 4 outside pieces in the correct order then screw together the outside ring to the arms of the chandelier and continue that process until the outside circle is attached to the arms and attached each piece together making a ring. Each arm on the outside of the chandelier should be attached to the ring. If not you did it wrong.5. There are three pieces of chain which was really nice. You do have to weave the chord of the chandelier up through a hole in the base of the chain loop, then weave the chord in and out of the chain to your liking then through a hole on the ceiling bracket that attaches to the ceiling. I had a professional come and mount it to the ceiling as I have 18-20 foot ceilings. So that part he did.I did install a dimmer switch on the wall - super easy. This chandelier does need it - it does produce a lot of light! I put daylight bulbs in it. The picture was taken with dimmed and then full lighting.It was well worth the money but it was difficult to build.
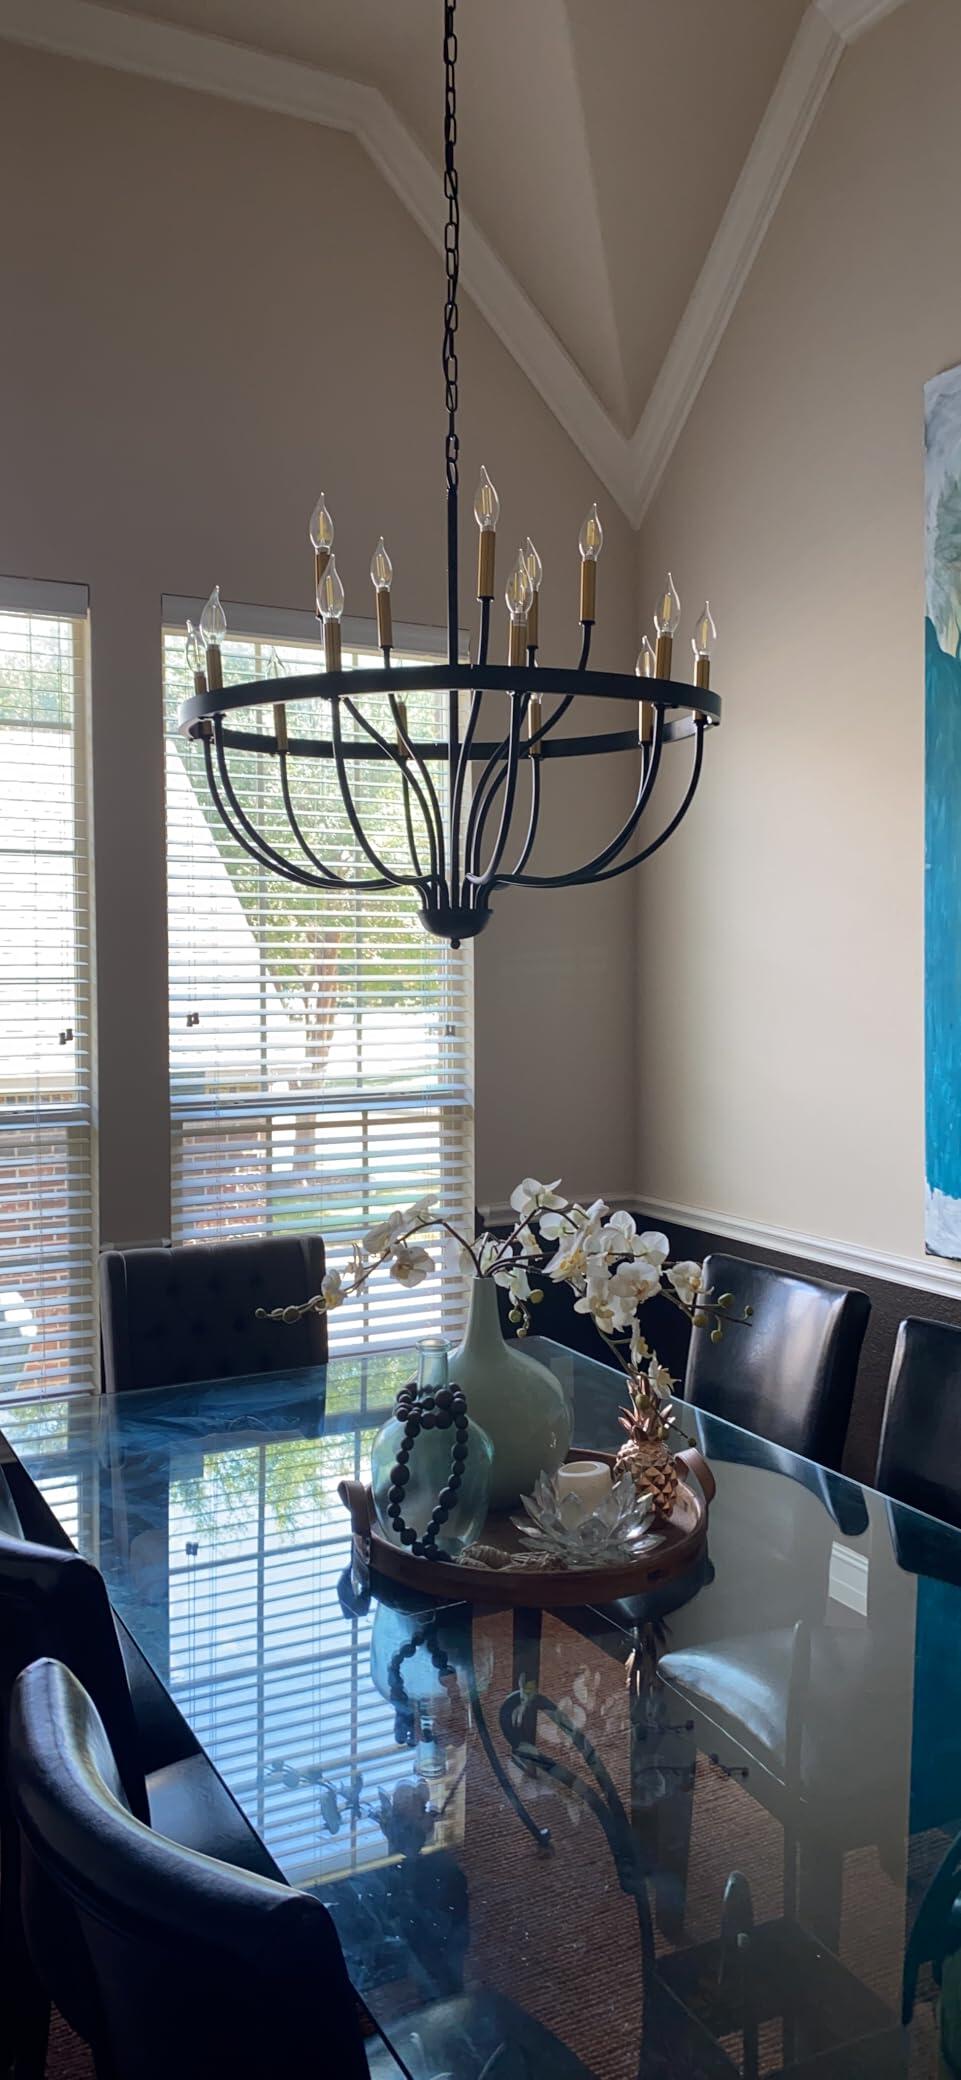
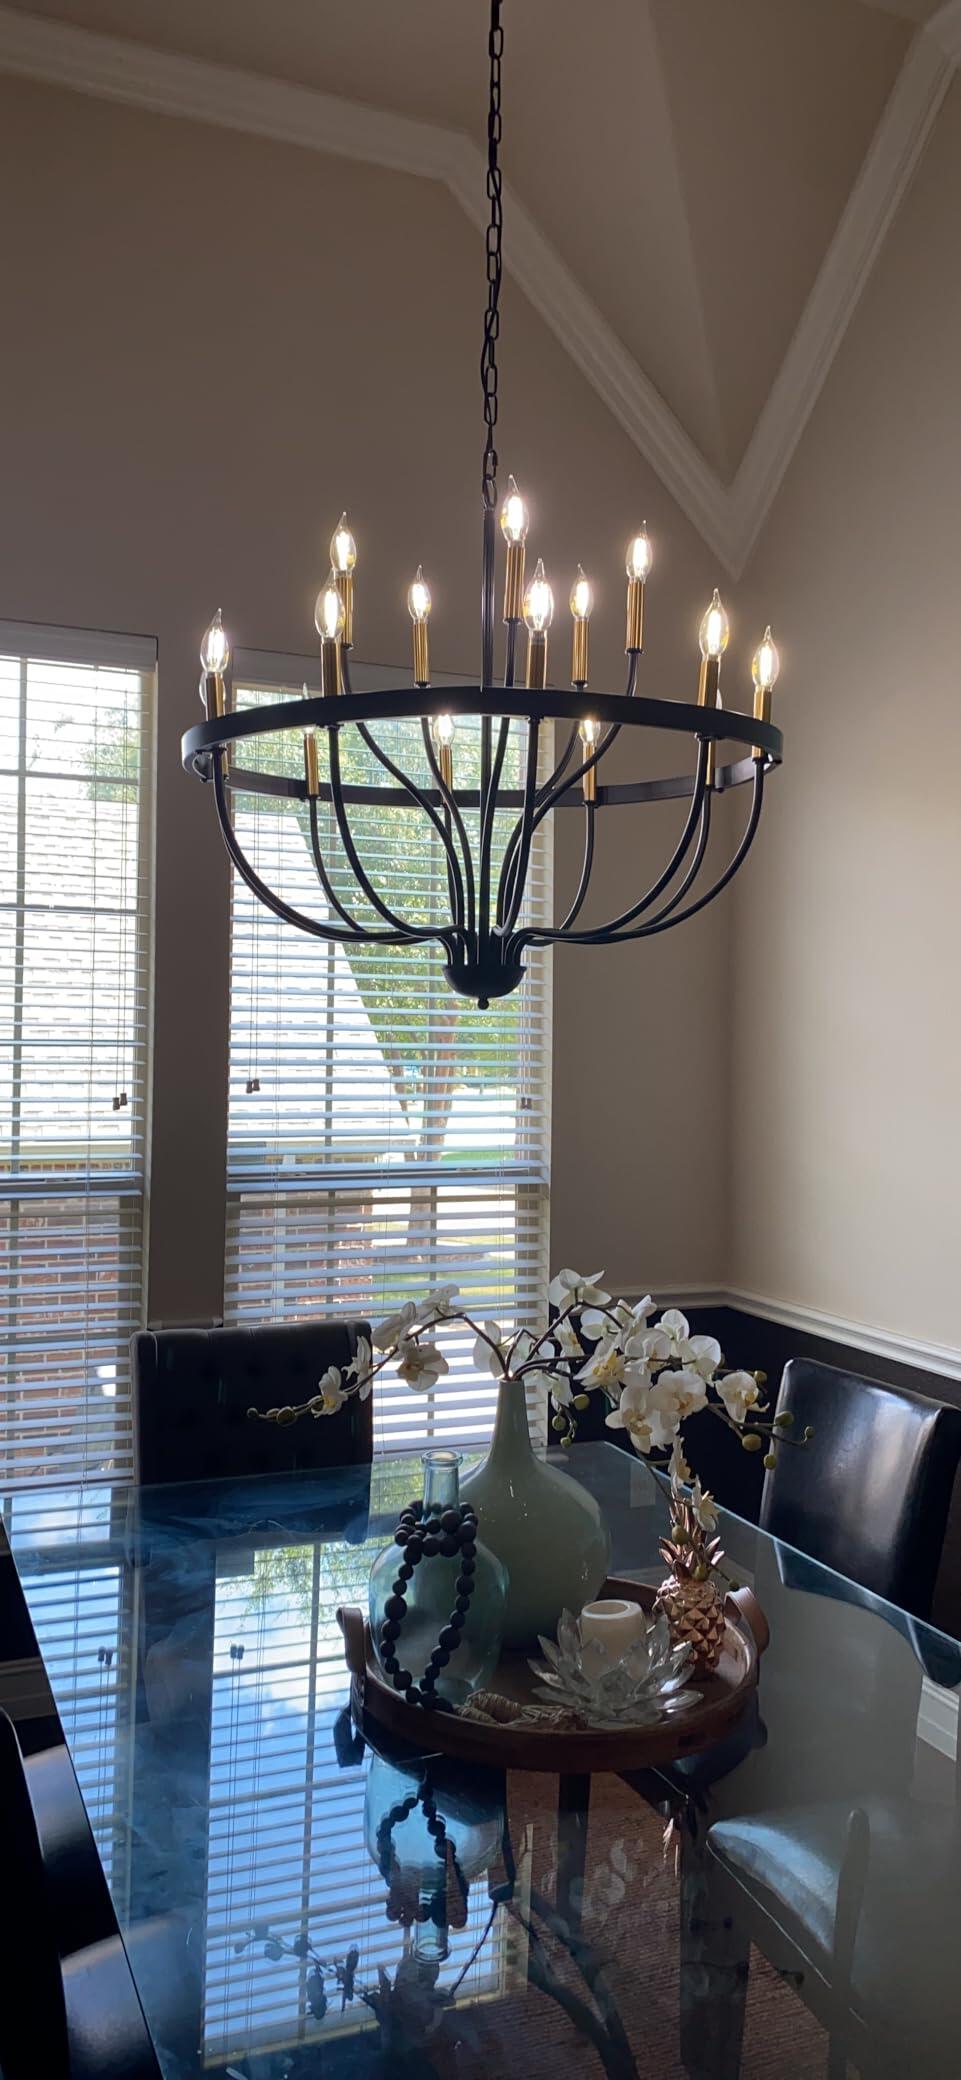
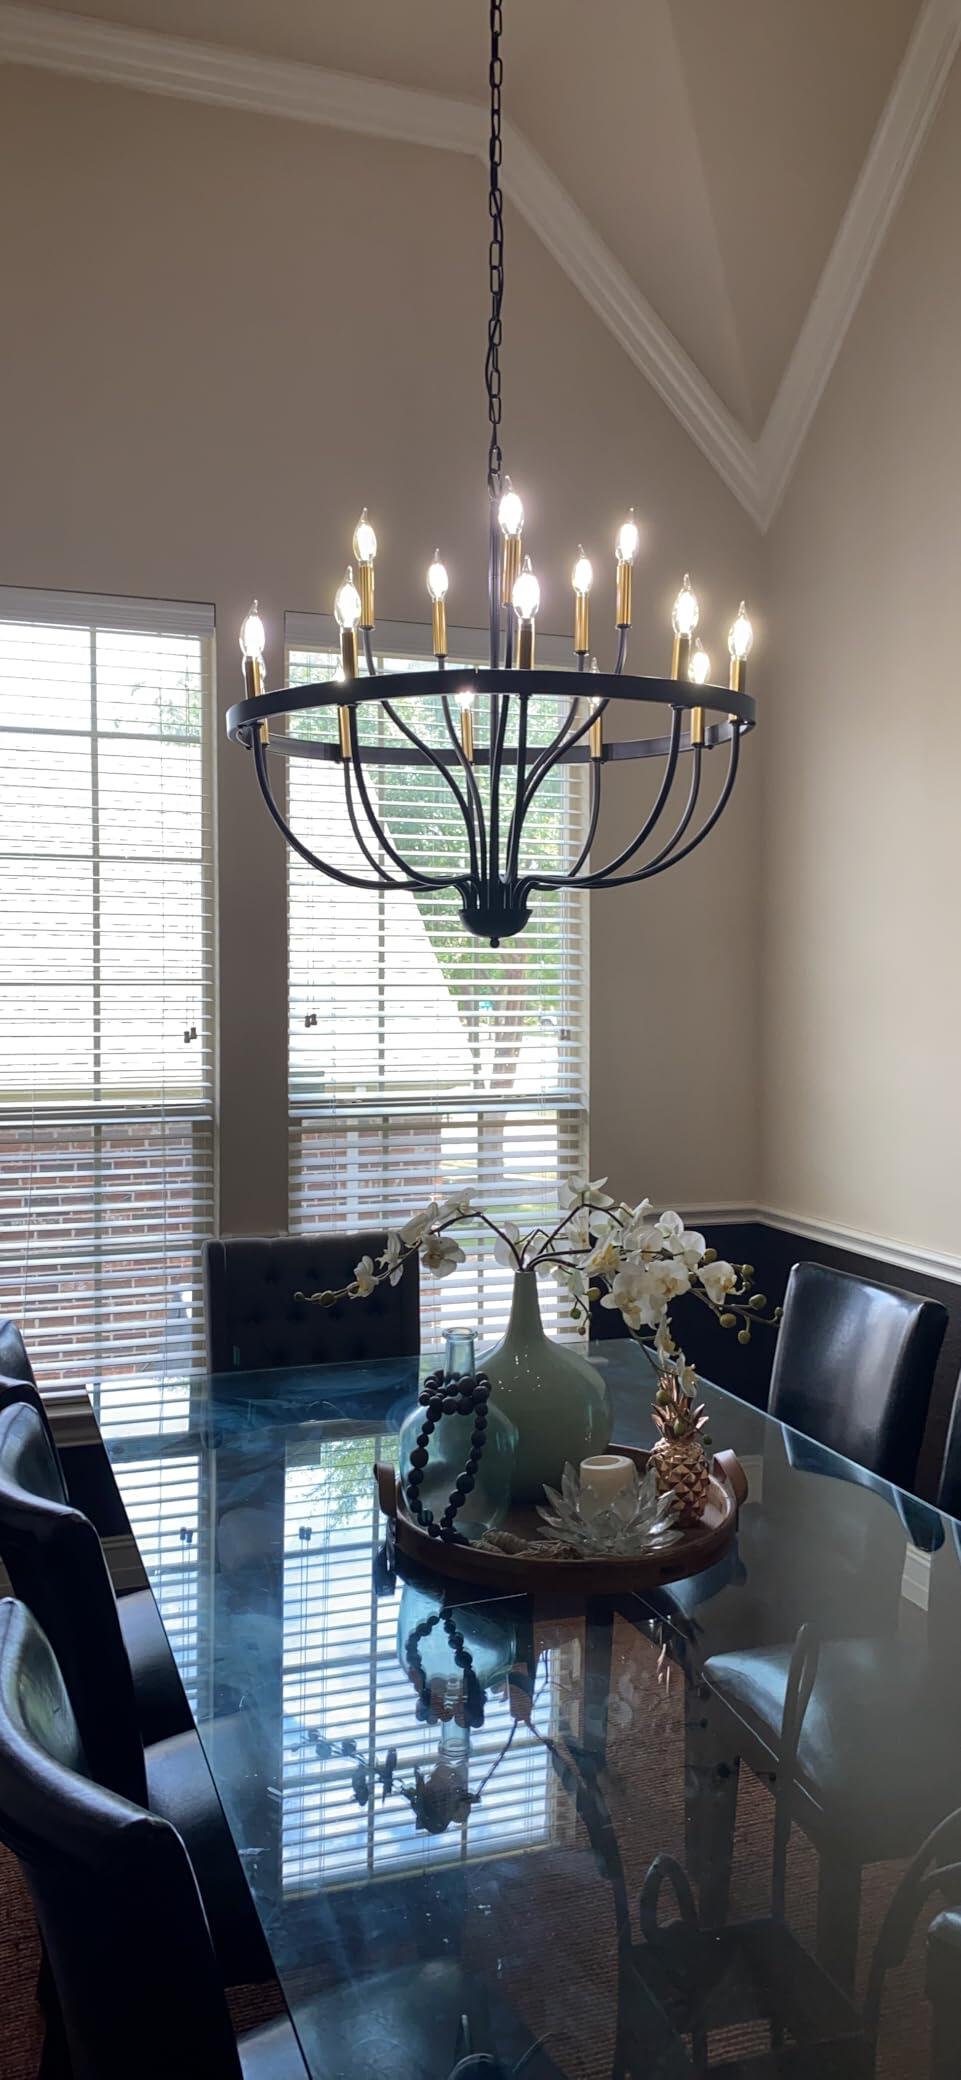
This a a beautiful light. I will say it is very heavy so make sure you beef up your hanging box.Lots of pieces so relax and take your time putting it together.
Very large and elegant light fixture
Really glad I bought it. Its very nice as a foyer light.
I really didn't think you could get something like this at this price! Excellent! Takes a little while to assemble, but it's worth it!
This is a cool looking chandelier. Very "tavern" esque which is what I wanted. The metal is thick and not cheap which is nice. Easy enough to assemble and the instructions were clear. This thing is pretty heavy so make sure to anchor it properly. This bad boy CANNOT hang from it's wires just in case you were planning on that. The finish on the metal is very nice and not greasy or anything. Overall it's pretty great for the price.
Gives out lots of light; a bit difficult to put together,
Great quality light, I didn't need a second person to assemble but it wouldn't hurt
This is perfect for a large entry way. It’s big and stately. It took a while to put together, but it was fairly easy to do.
I love love love this chandelier.it is a dimming one too.looks exactly as pictured above and is wonderful quality.
Beautiful!!
Have bought this for 2 different houses now and in both have gotten TONS of compliments. Bought 2 different colors and in 2 different settings, both look very high end and very grand. Takes some time to put together for sure but worth it.
Stunning
Easy to assemble and install, good quality especially for the price.
It was a lot work putting the chandelier to look like the picture but once it was all put together... it looked beautiful. It looks way more expensive than what I paid for. Love it!
This light is a good buy. Fits a space well without taking up to much room.
Such a gorgeous chandelier and looks WAY more expensive!
Just beautiful!
Other than my wife, I've never had anything I'd call elegant. This chandelier's elegant.It's so simple & understated. Its subtlety somehow makes it the centerpiece of everything in its range. But not in an obnoxious or pretentious way. It's timeless. It's classic. It's a beauty.